May 3, 2015
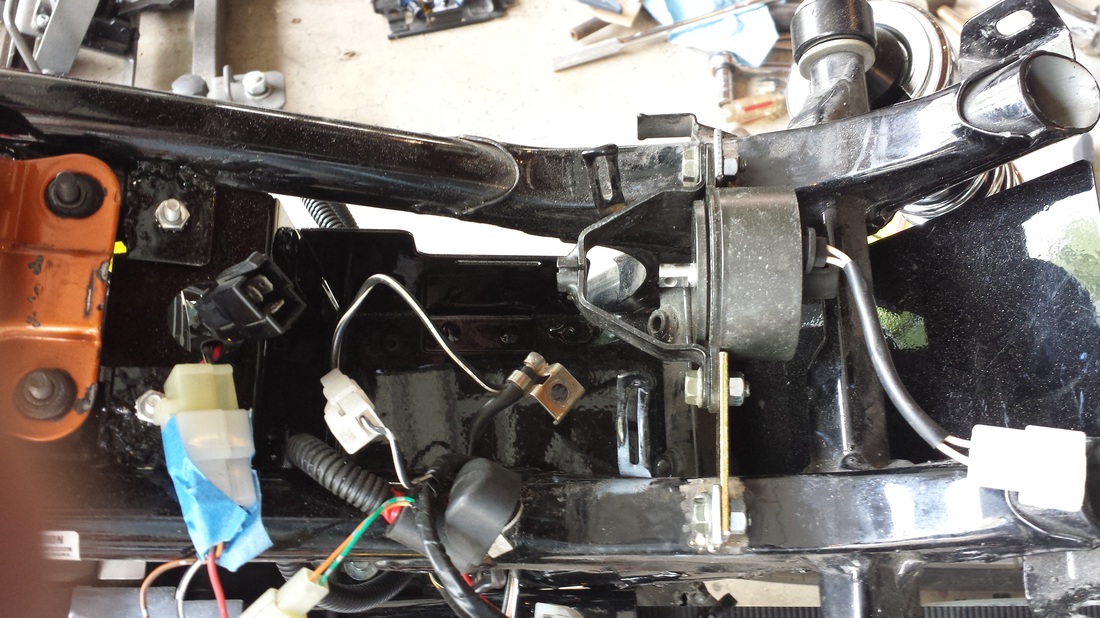
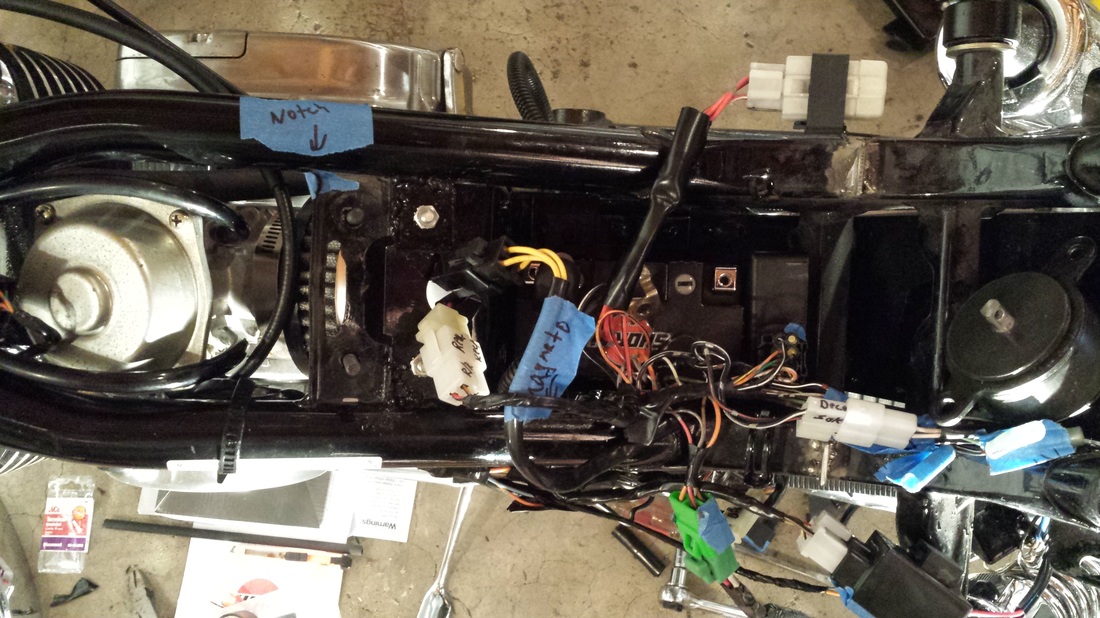
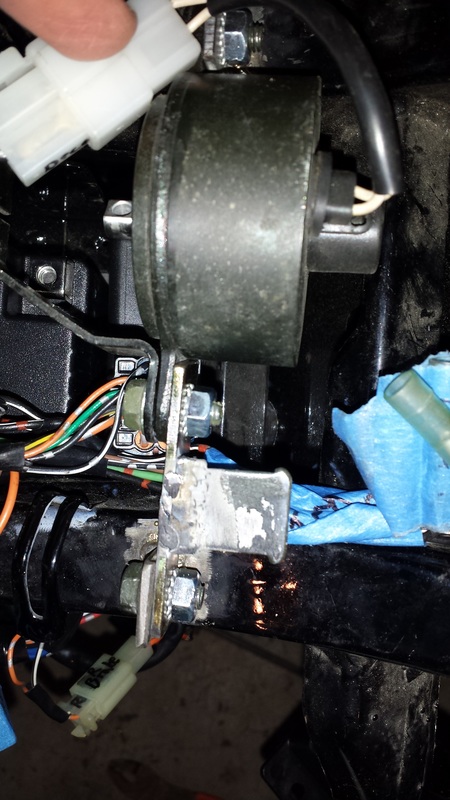
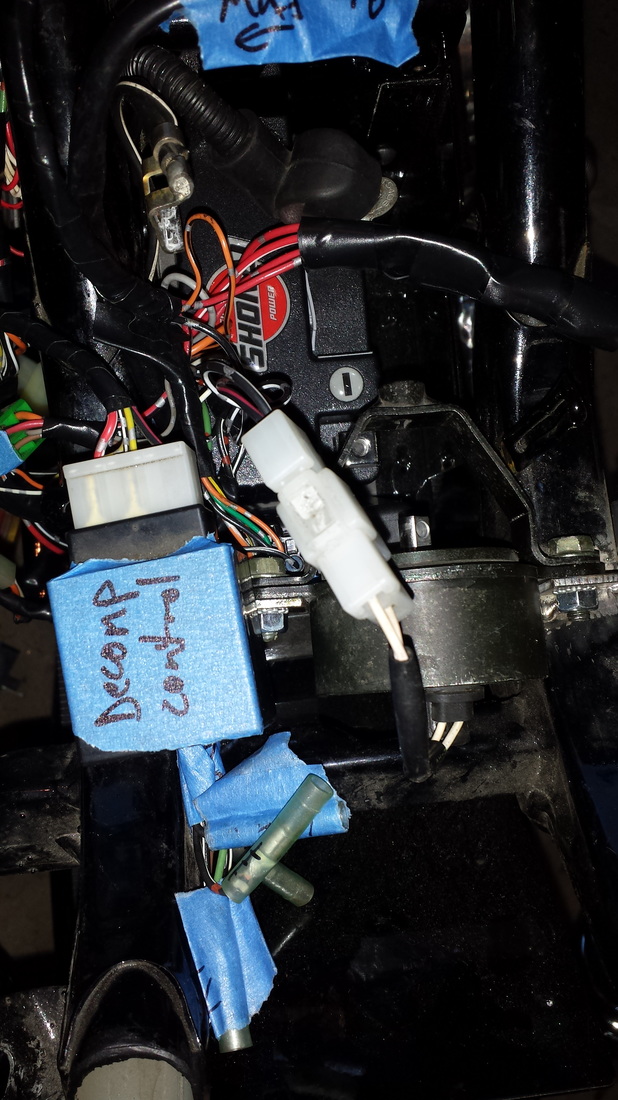
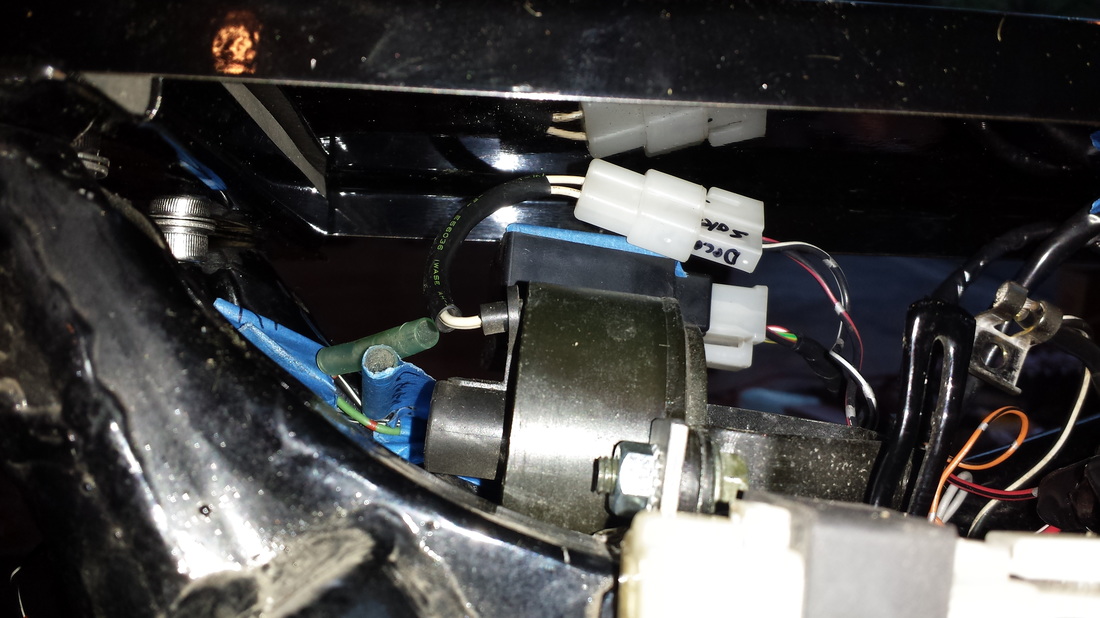
Wiring, wiring and more wiring. I was planning on hanging the solenoid from the front but I did a little measuring and found that if I extended the pull cable, I could put it under the seat. Priced the cable out at around $45. A few tabs welded on and it went right in. The wiring was just as easy. I cut the ground, hinged the decomp controller back and will be able to mount it on the tab next to the solenoid. The ground had a connection right where I pulled it back. Got several other wires connected the same way.
Wiring, wiring and more wiring. I was planning on hanging the solenoid from the front but I did a little measuring and found that if I extended the pull cable, I could put it under the seat. Priced the cable out at around $45. A few tabs welded on and it went right in. The wiring was just as easy. I cut the ground, hinged the decomp controller back and will be able to mount it on the tab next to the solenoid. The ground had a connection right where I pulled it back. Got several other wires connected the same way.
May 5, 2015
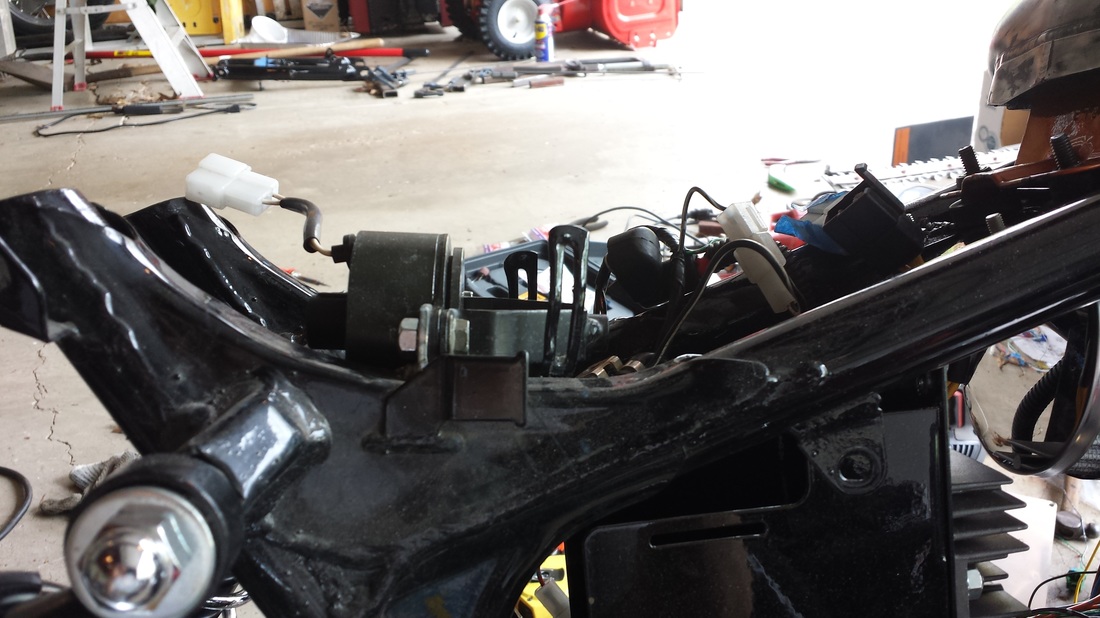
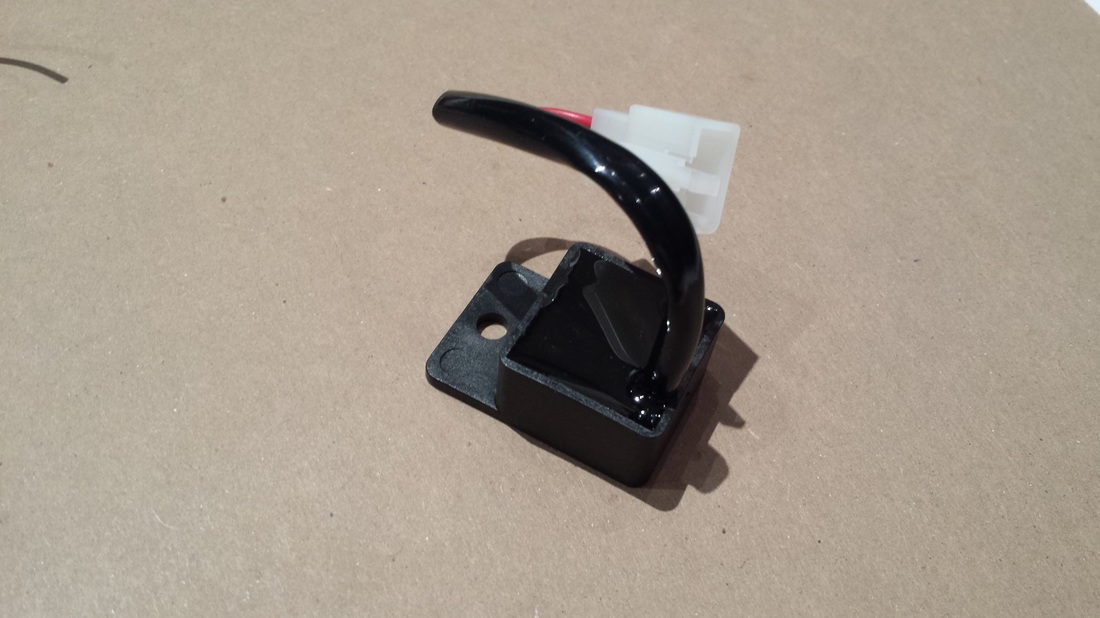
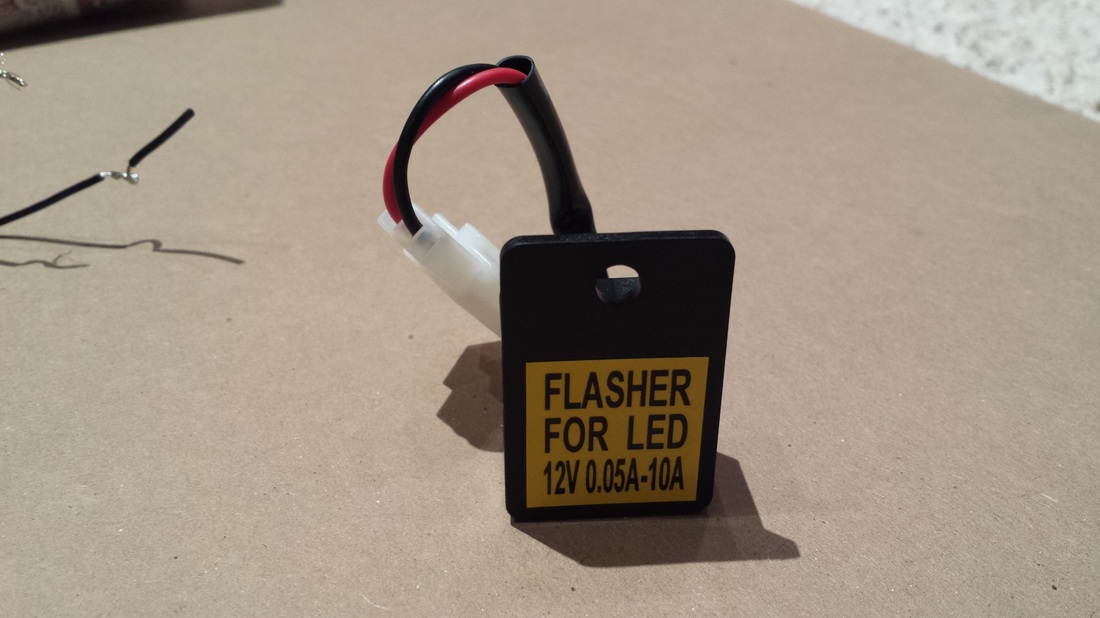
Got the main wiring sorted out and working. Blew a few fuses at first but I traced it back to a possible bad ground. The tank turn signal light won't stop blinking. I think it's acting as a resistor. I'll order a new flasher relay tomorrow.
May 8, 2015
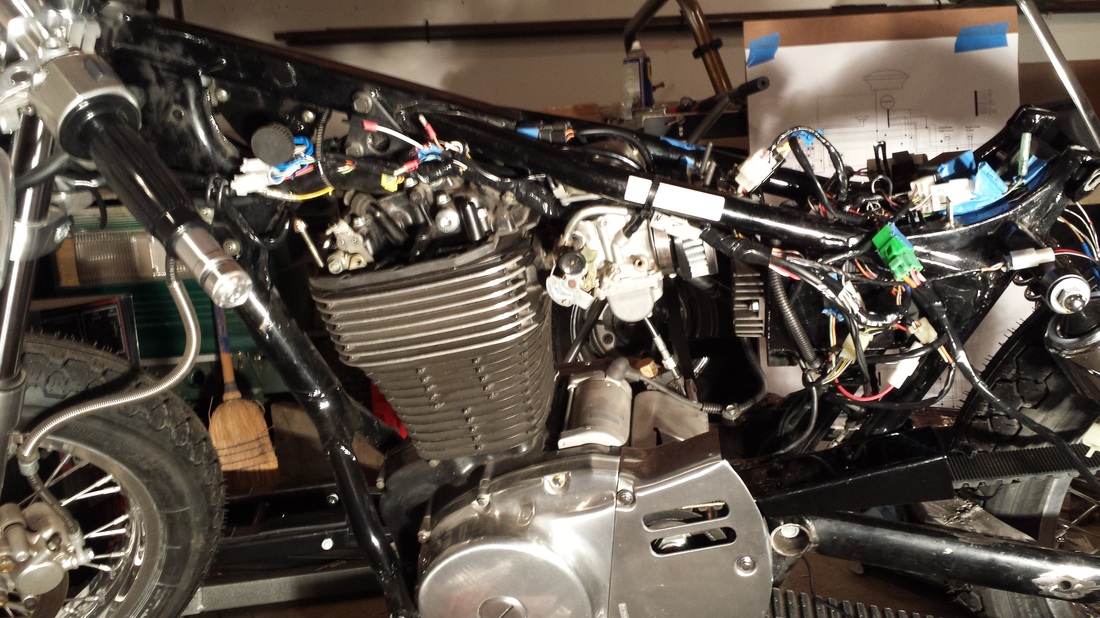
Got the new flasher and it slowed things down a bit but the tank light was super dim. I'll try to replace it with a LED soon. As for the rest of the wiring, I got it all bundled and tucked away. I had to extend the coil wiring as I pulled the harness more rearward to lessen the amount hanging out the front of the bike. I'll be welding on a few more mounting tabs next to the decomp and adding some padding for the battery and other components I have stuffed in there.
I sent the decomp cable out and should have a new cable back in about a week. I possibly need to make a small notch in the tank mount bracket to clear it.
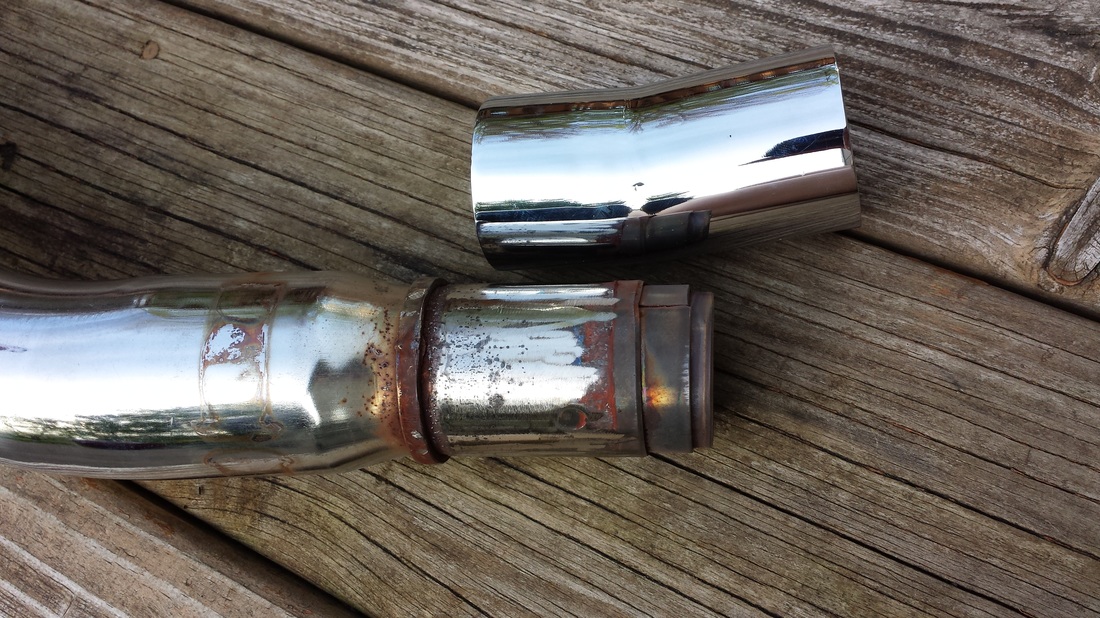
Got the exhaust separated and ready to cut. It needs a good cleaning! I need to call around and see where I can get some tank sealant. Tomorrow I can hopefully get the kickstand bolt in and finish up on the trailing arm welding. If I have time, I need to get the bar mirrors mounted. I'm going to fiberglass the tail light bracket to the tail piece and cutting a mounting plate for the extra lights.
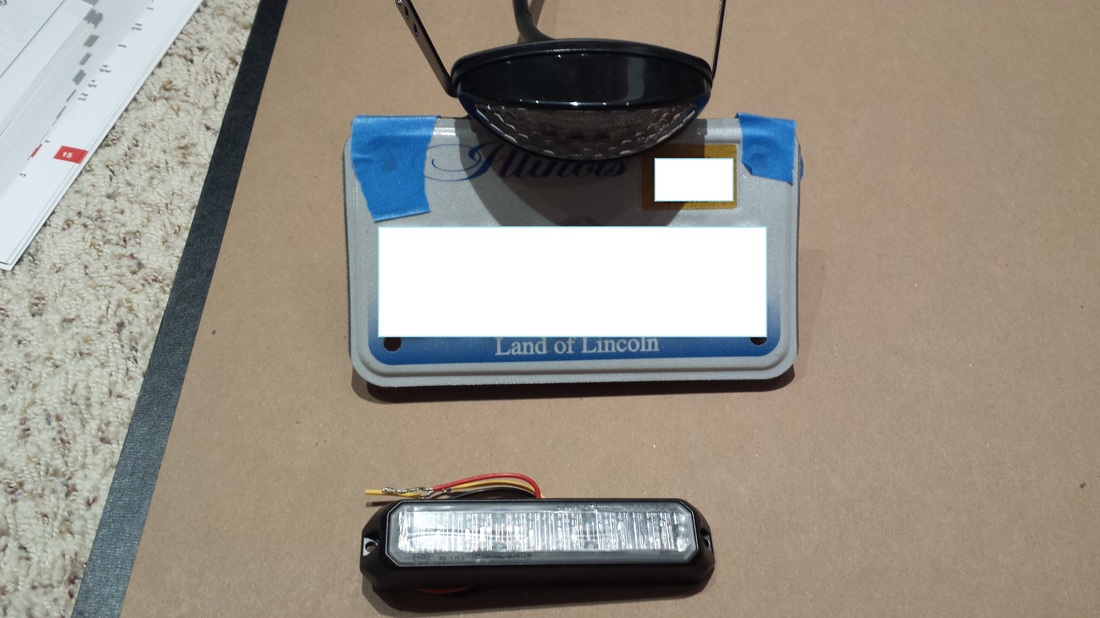
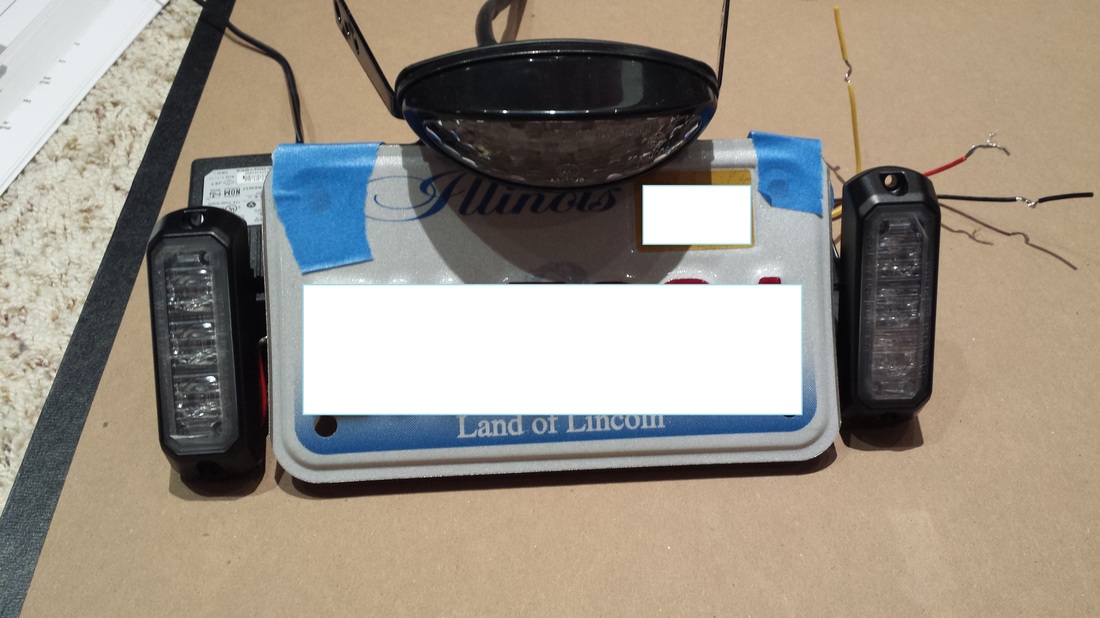
I determined that the long bar brake light wouldn't be seen behind the license plate, so I bought two smaller ones that I will be making a bracket and mounting to the sides of the plate. I'll figure where to relocate the LED tail lights too.
Got the main wiring sorted out and working. Blew a few fuses at first but I traced it back to a possible bad ground. The tank turn signal light won't stop blinking. I think it's acting as a resistor. I'll order a new flasher relay tomorrow.
May 8, 2015
Got the new flasher and it slowed things down a bit but the tank light was super dim. I'll try to replace it with a LED soon. As for the rest of the wiring, I got it all bundled and tucked away. I had to extend the coil wiring as I pulled the harness more rearward to lessen the amount hanging out the front of the bike. I'll be welding on a few more mounting tabs next to the decomp and adding some padding for the battery and other components I have stuffed in there.
I sent the decomp cable out and should have a new cable back in about a week. I possibly need to make a small notch in the tank mount bracket to clear it.
Got the exhaust separated and ready to cut. It needs a good cleaning! I need to call around and see where I can get some tank sealant. Tomorrow I can hopefully get the kickstand bolt in and finish up on the trailing arm welding. If I have time, I need to get the bar mirrors mounted. I'm going to fiberglass the tail light bracket to the tail piece and cutting a mounting plate for the extra lights.
I determined that the long bar brake light wouldn't be seen behind the license plate, so I bought two smaller ones that I will be making a bracket and mounting to the sides of the plate. I'll figure where to relocate the LED tail lights too.


May 10, 2015
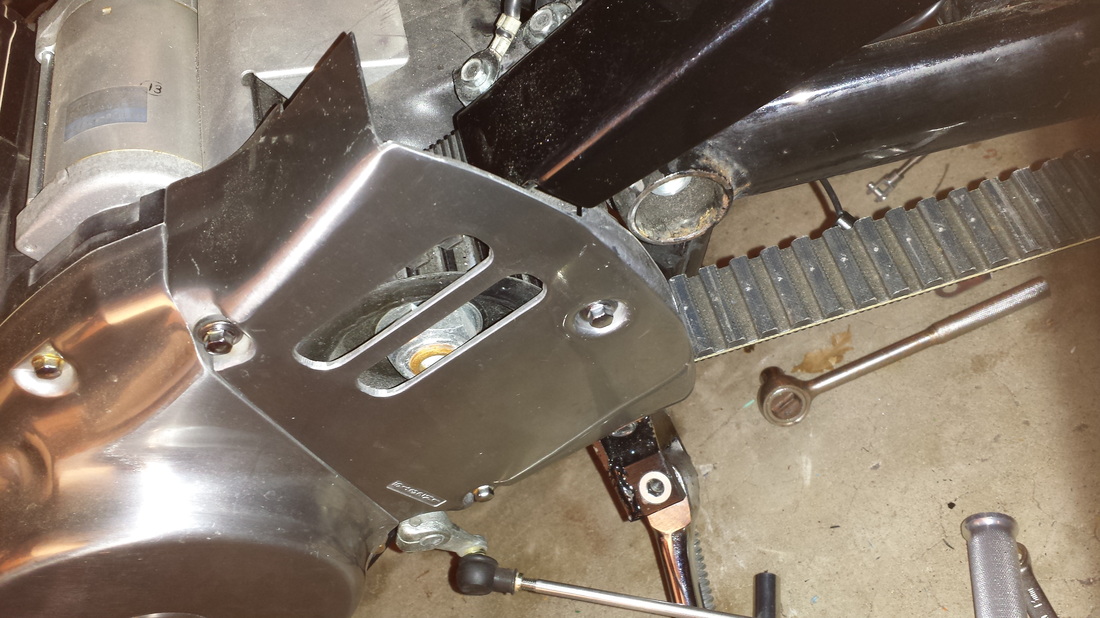
Got the tab welded on for the decomp controller, I took the old mount from up front, cut it off and welded it on the bracket next to the solenoid. The wiring is much snuggger. There is a lot of room under the seat pan! I ordered some LED lights to mod the center tank light so I can make it a flasher. $8 for 10 of them wired, free shipping! I then made the shifter toe stub. I took the nut and ground it down around the edges so it would slide into the tube. Gave it a few zaps with the welder then wirewheeled it down. Bolted right up and no scuffed boot!
Got the tab welded on for the decomp controller, I took the old mount from up front, cut it off and welded it on the bracket next to the solenoid. The wiring is much snuggger. There is a lot of room under the seat pan! I ordered some LED lights to mod the center tank light so I can make it a flasher. $8 for 10 of them wired, free shipping! I then made the shifter toe stub. I took the nut and ground it down around the edges so it would slide into the tube. Gave it a few zaps with the welder then wirewheeled it down. Bolted right up and no scuffed boot!


May 11, 2015
Ordered some POR 15 tank sealer. Should be here in a few days. Still waiting on the decomp cable.
May 13, 2015
Got in touch with the cable makers. They will have it out to me in a couple days.
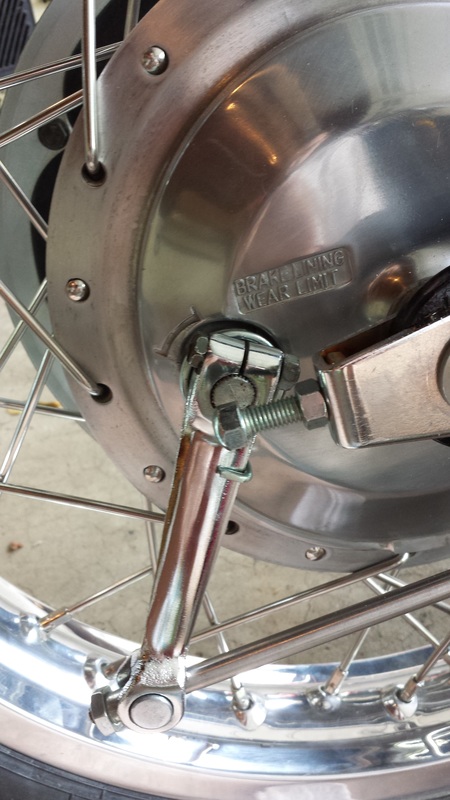
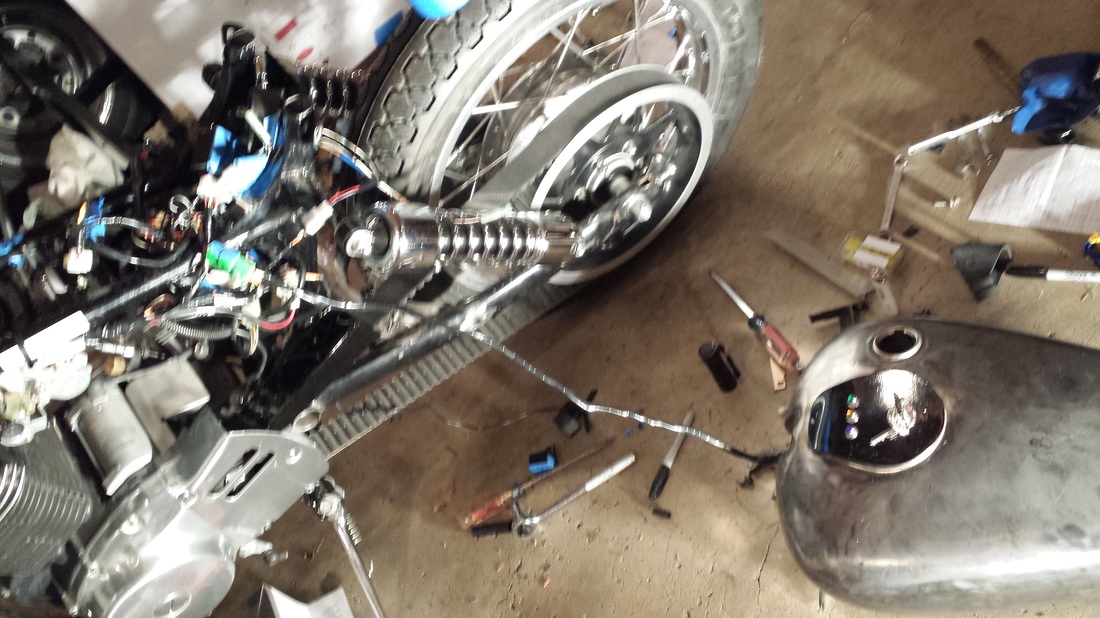
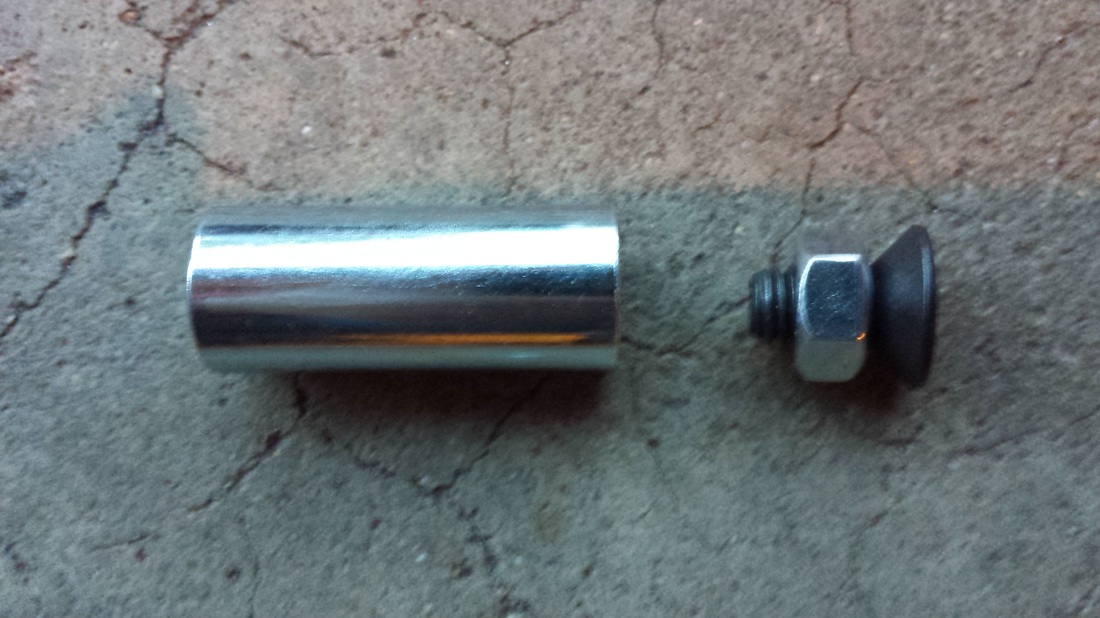
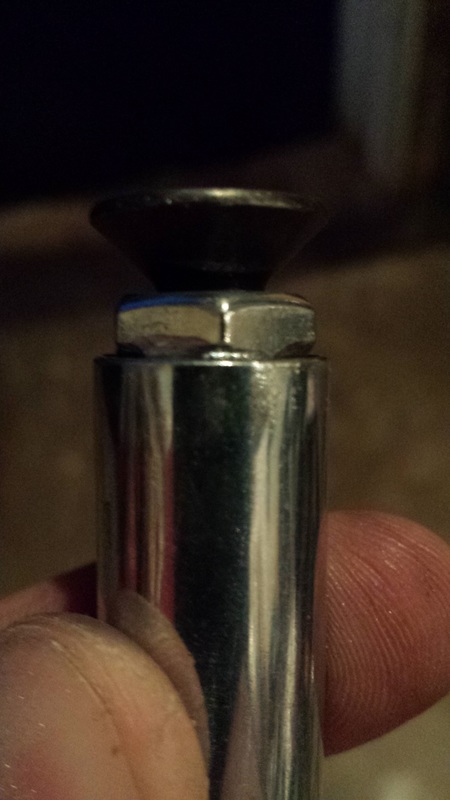
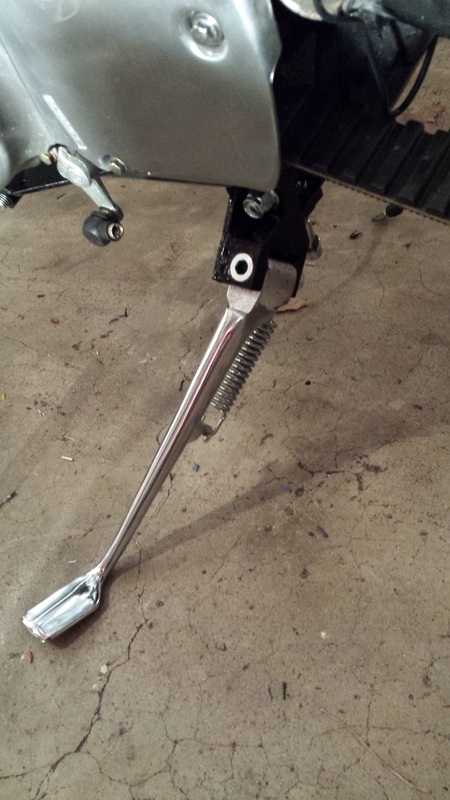
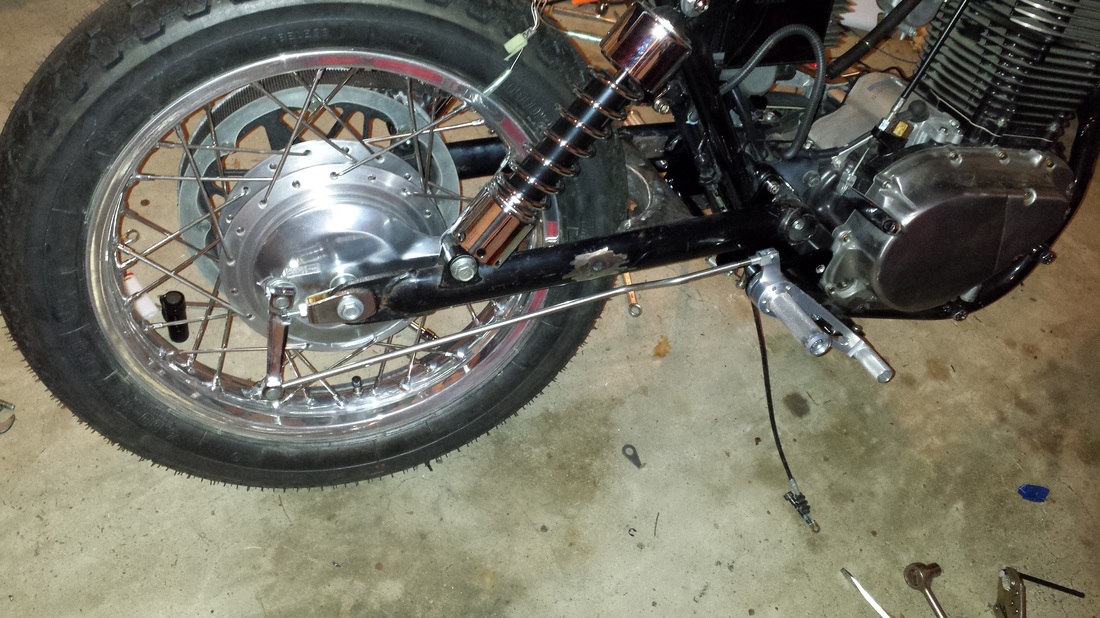
I Got the kickstand bolt installed. Now putting the bolt in is very easy but getting the spring attached is nearly impossible. What I found that made it easier is to hook the spring on then shove the kickstand in place and push the bolt through. I didn't even need to adjust it. This only works if the kickstand bracket is already on the bike.
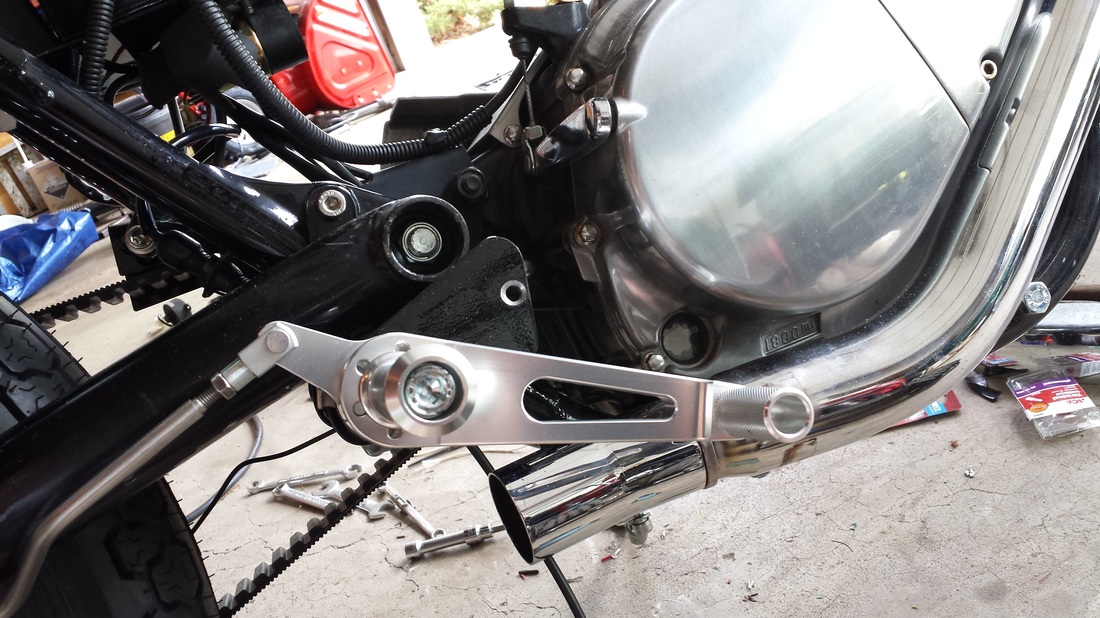
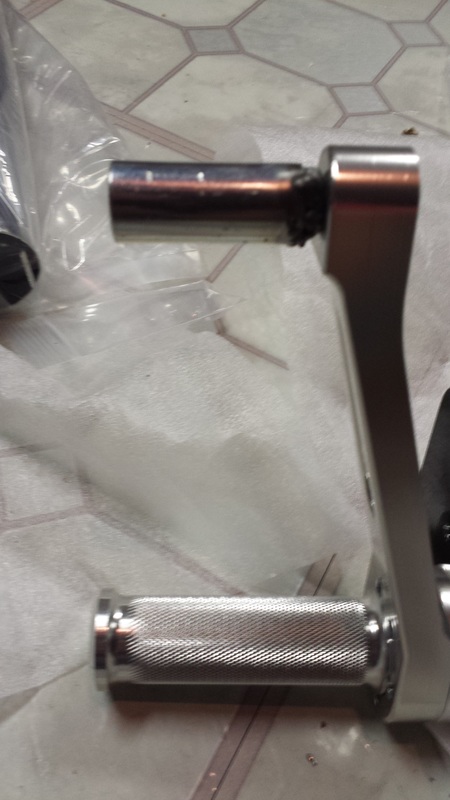
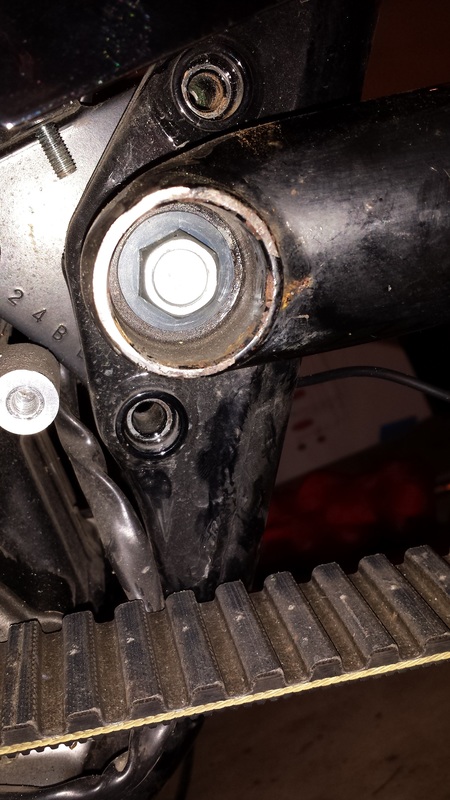
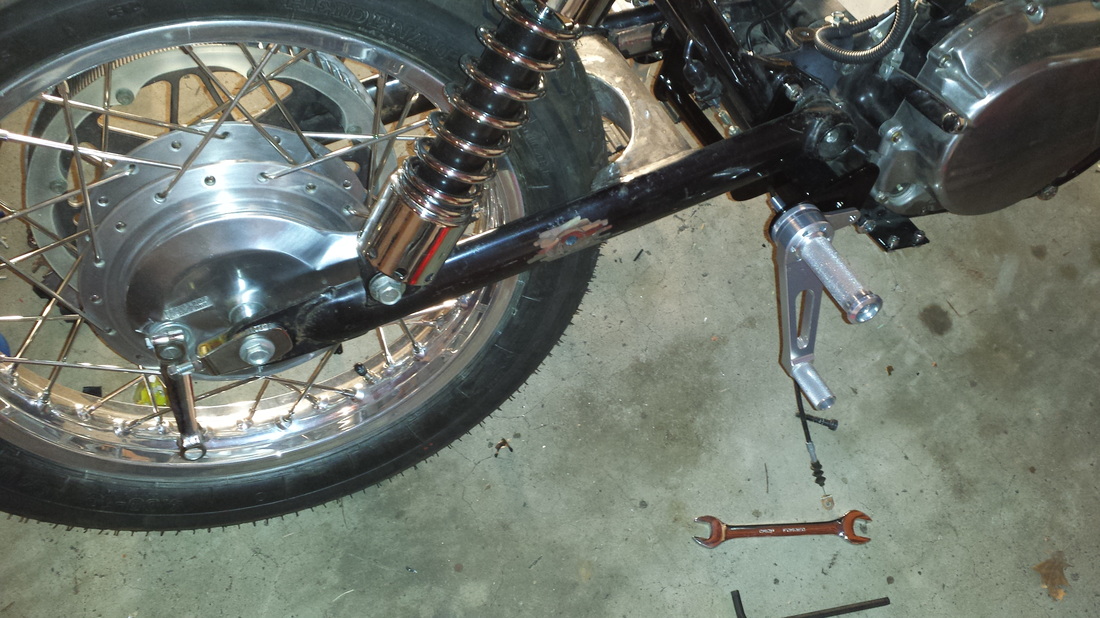
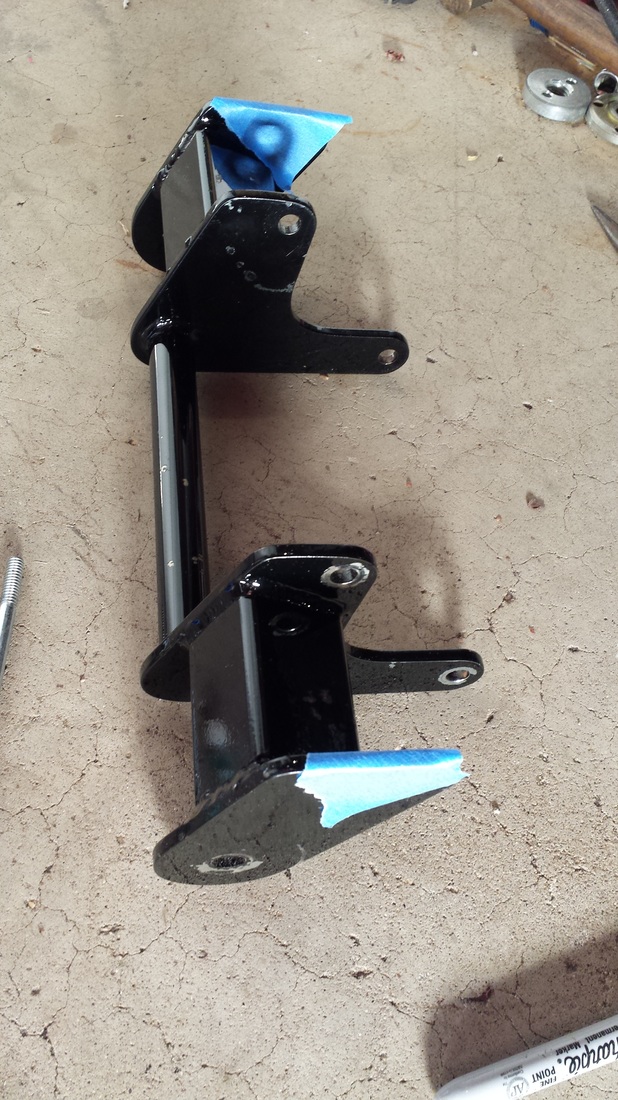
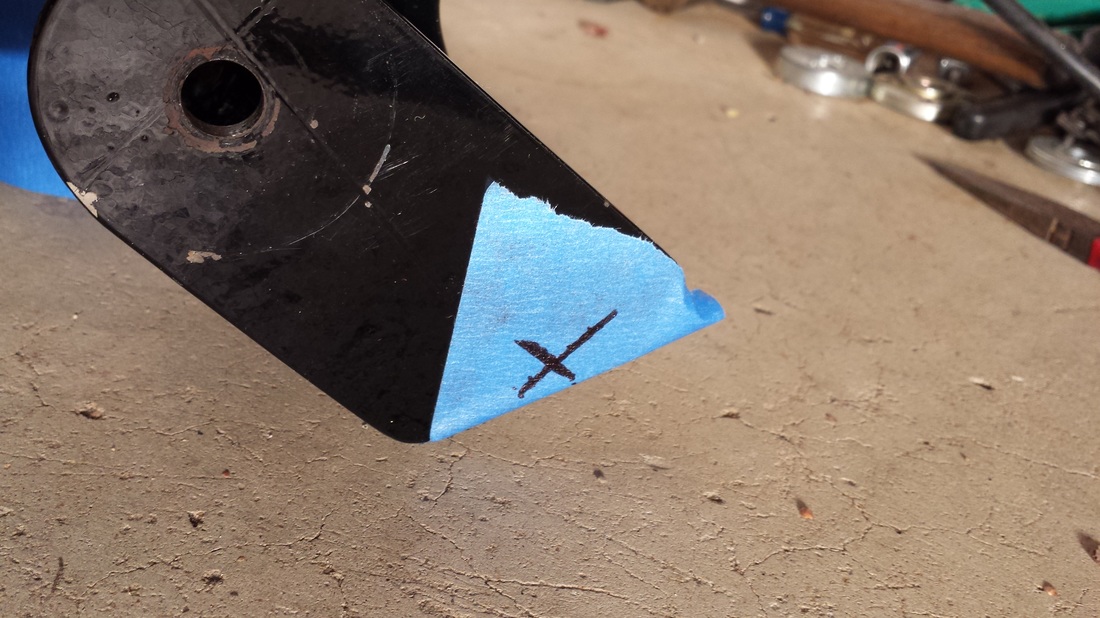
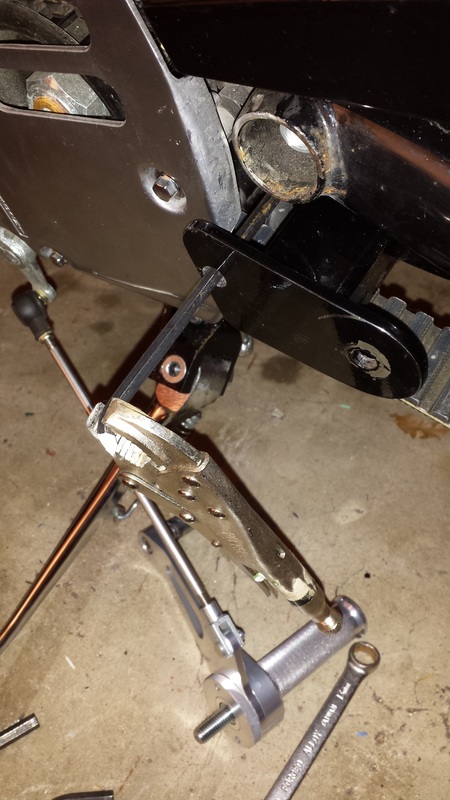
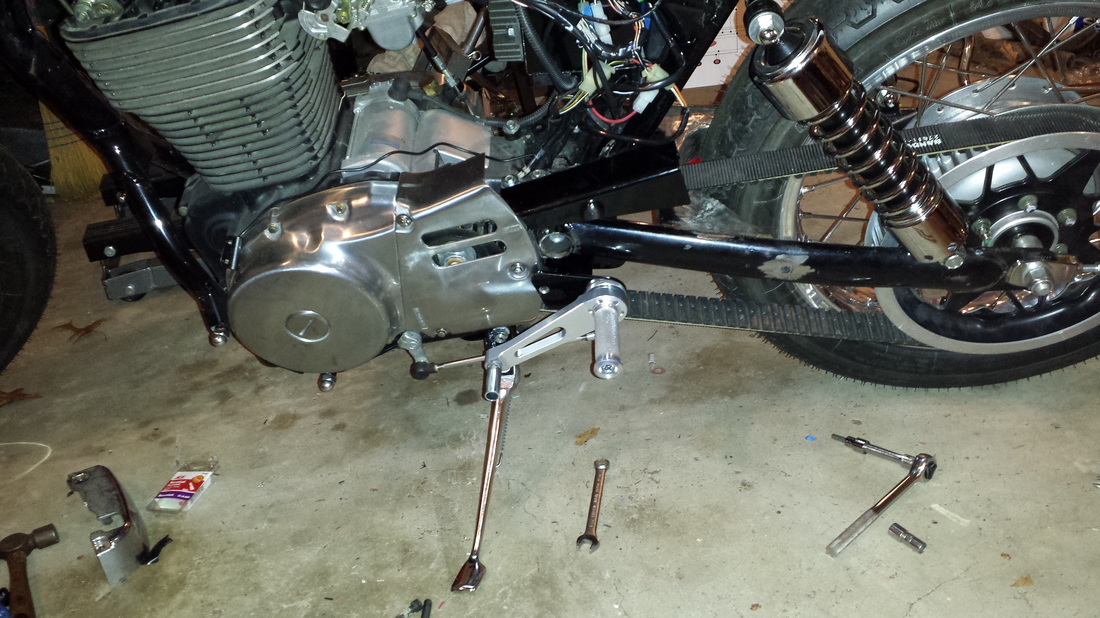
Since I got that on I decided to get the rearset bracket on. Okay, this was one of the crazier things I've had to do. You need a 6mm allen socket, a 13mm ratcheted socket and preferably a long 6mm allen. First off, I took off the belt guard to get the engine mount bolt out. Then I put the rearset bracket on and go the footpegs on. I went to put the pulley cover abck on and OOPS, you have to have the cover on BEFORE you put the bracket on. Back apart it came, got the cover on and then went to put the rearset bracket on. Guess what, you can hardly get the lower left bolt in, much less hold it and keep it from rotating. I saw a few Rycas built with the bracket notched to get the allen wrench to the bolt. Took it off the bike AGAIN and measured where to drill. Instead of notching, I just drilled a pair of holes large enough to pass the long 6mm allen wrench through. The one on the right was easy, but the lower left front was a TIGHT fit for the allen to go in and be able to pass the pulley cover. It did rub against it but you'll never see it.
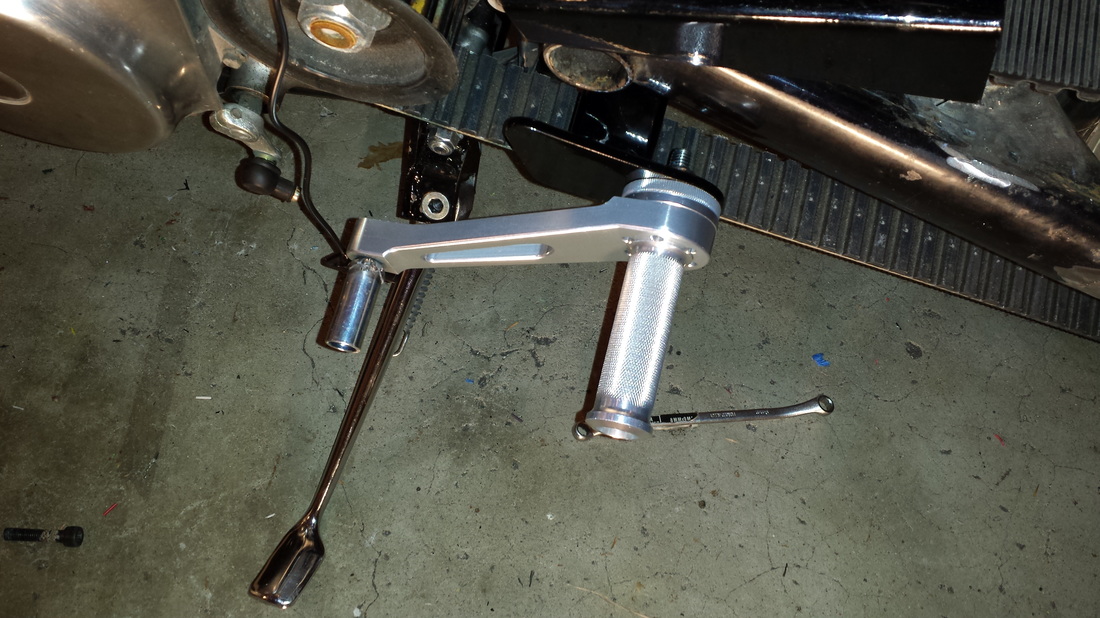
I then put on the pegs and probably took them off 5-8 times per side to adjust them for the shifter and brake linkage. Suggestion; get a regular nut to spin on the long allen bolts for fitting as the locknuts take a long time to take on and off. Use them once you get all the adjustments made. Use a temporary nut and bolt for the clevis pin too as taking the clip on and off is a bit frustrating.
The best part was that I finally got to sit on it with the pegs and it fits PERFECTLY! I'm so amped to get this bike on the road!!
Ordered some POR 15 tank sealer. Should be here in a few days. Still waiting on the decomp cable.
May 13, 2015
Got in touch with the cable makers. They will have it out to me in a couple days.
I Got the kickstand bolt installed. Now putting the bolt in is very easy but getting the spring attached is nearly impossible. What I found that made it easier is to hook the spring on then shove the kickstand in place and push the bolt through. I didn't even need to adjust it. This only works if the kickstand bracket is already on the bike.
Since I got that on I decided to get the rearset bracket on. Okay, this was one of the crazier things I've had to do. You need a 6mm allen socket, a 13mm ratcheted socket and preferably a long 6mm allen. First off, I took off the belt guard to get the engine mount bolt out. Then I put the rearset bracket on and go the footpegs on. I went to put the pulley cover abck on and OOPS, you have to have the cover on BEFORE you put the bracket on. Back apart it came, got the cover on and then went to put the rearset bracket on. Guess what, you can hardly get the lower left bolt in, much less hold it and keep it from rotating. I saw a few Rycas built with the bracket notched to get the allen wrench to the bolt. Took it off the bike AGAIN and measured where to drill. Instead of notching, I just drilled a pair of holes large enough to pass the long 6mm allen wrench through. The one on the right was easy, but the lower left front was a TIGHT fit for the allen to go in and be able to pass the pulley cover. It did rub against it but you'll never see it.
I then put on the pegs and probably took them off 5-8 times per side to adjust them for the shifter and brake linkage. Suggestion; get a regular nut to spin on the long allen bolts for fitting as the locknuts take a long time to take on and off. Use them once you get all the adjustments made. Use a temporary nut and bolt for the clevis pin too as taking the clip on and off is a bit frustrating.
The best part was that I finally got to sit on it with the pegs and it fits PERFECTLY! I'm so amped to get this bike on the road!!
May 14, 2015
Kind of a short day today but I got the trailing arm welded and painted. I'll be bracing it more once I get the rest of the bike done.
Kind of a short day today but I got the trailing arm welded and painted. I'll be bracing it more once I get the rest of the bike done.
May 15, 2015
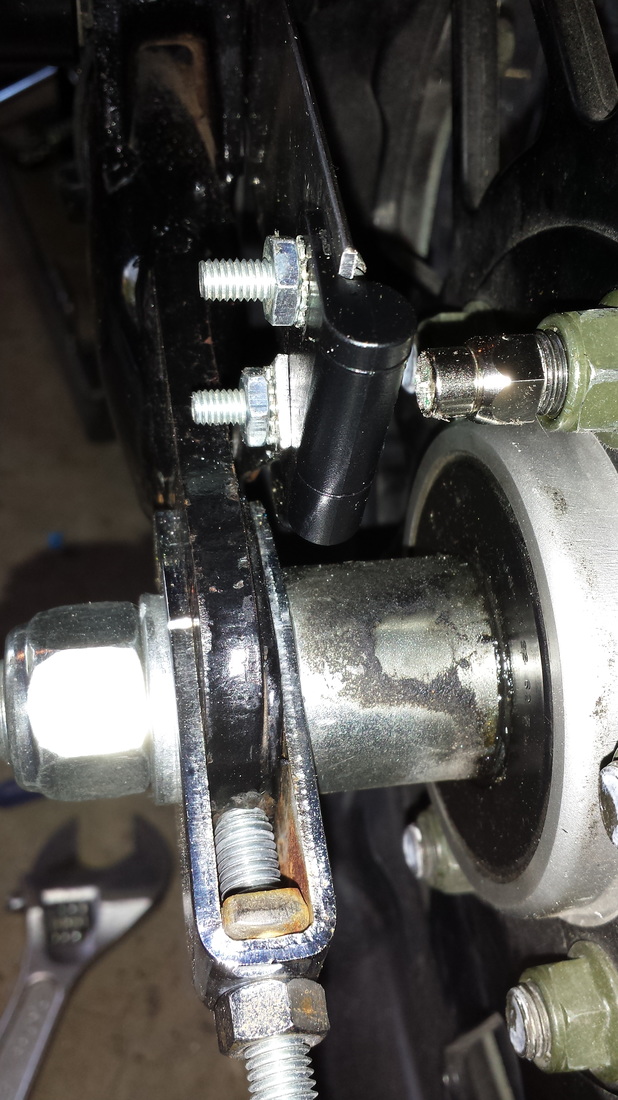
Got the speed sensor installed. It isn't pretty but if it works, I'll make a nicer bracket later. I basically cut a piece of aluminum , bored a hole to fit the shock bolt, drilled a few holes for the sensor and put it on. I put a retainer piece from the sensor down to a small hole that was already in the arm. Held in with a machine screw. The clearance is tight but good. I need to epoxy the magnet on as it came off of the mounting bolt. >:(
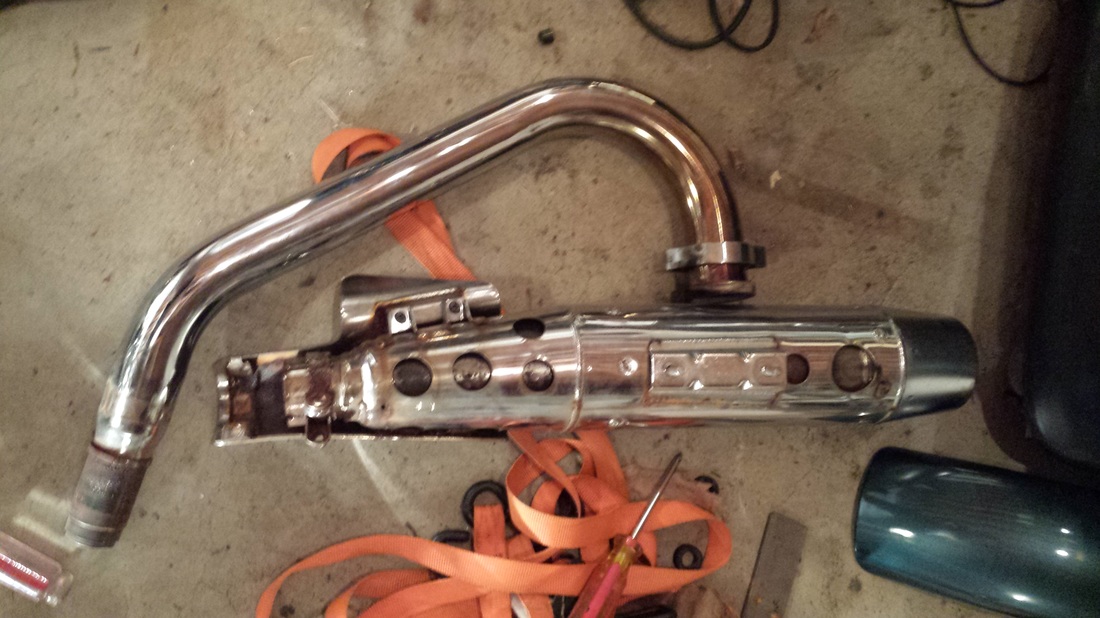
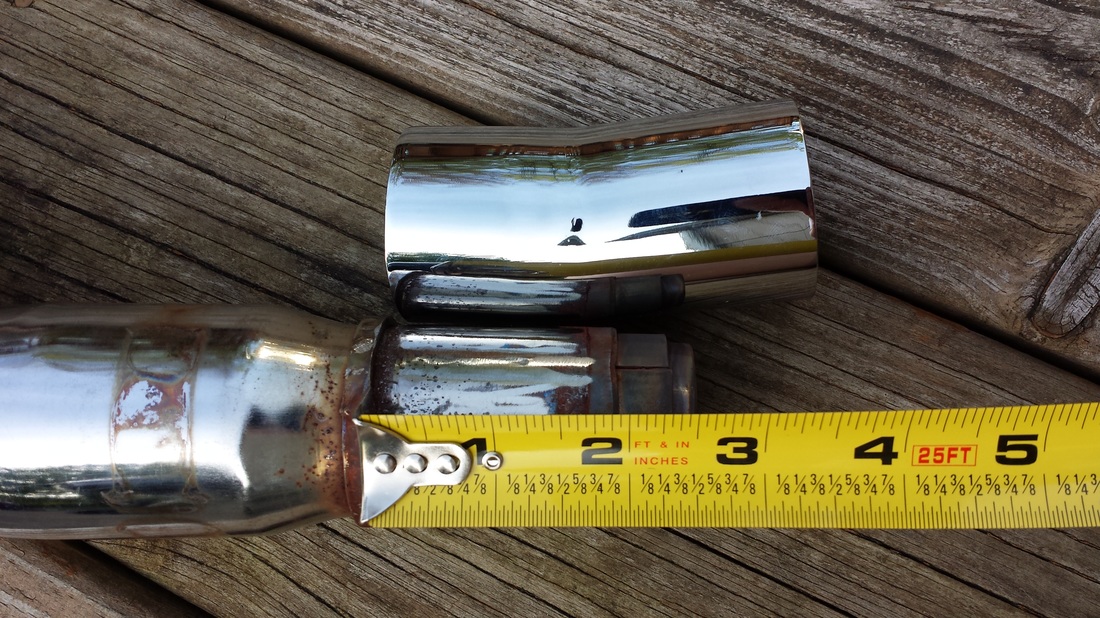
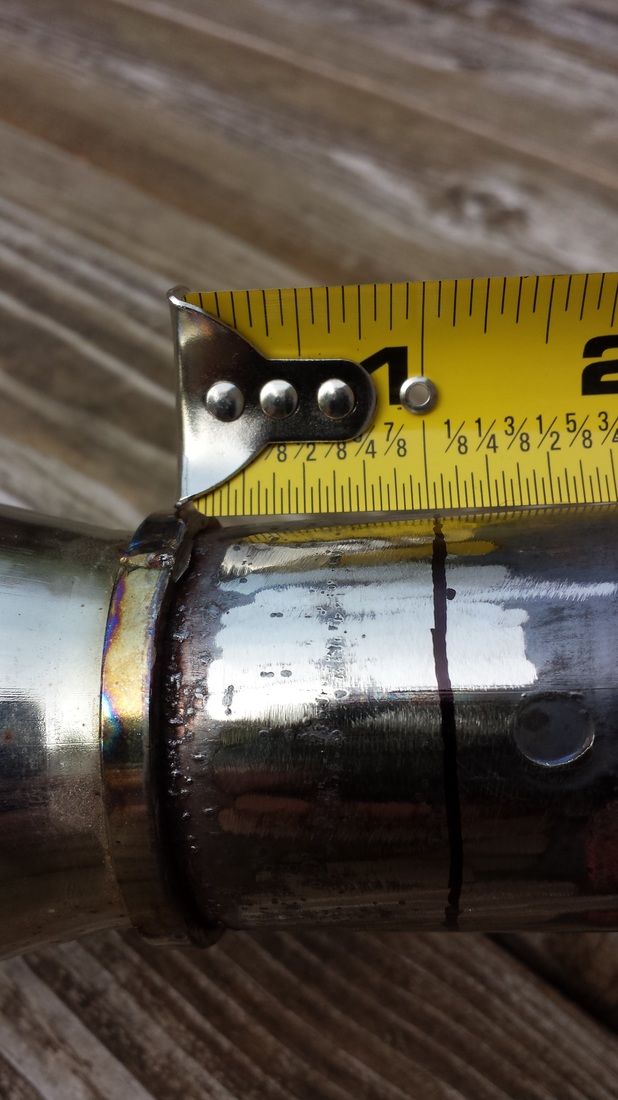
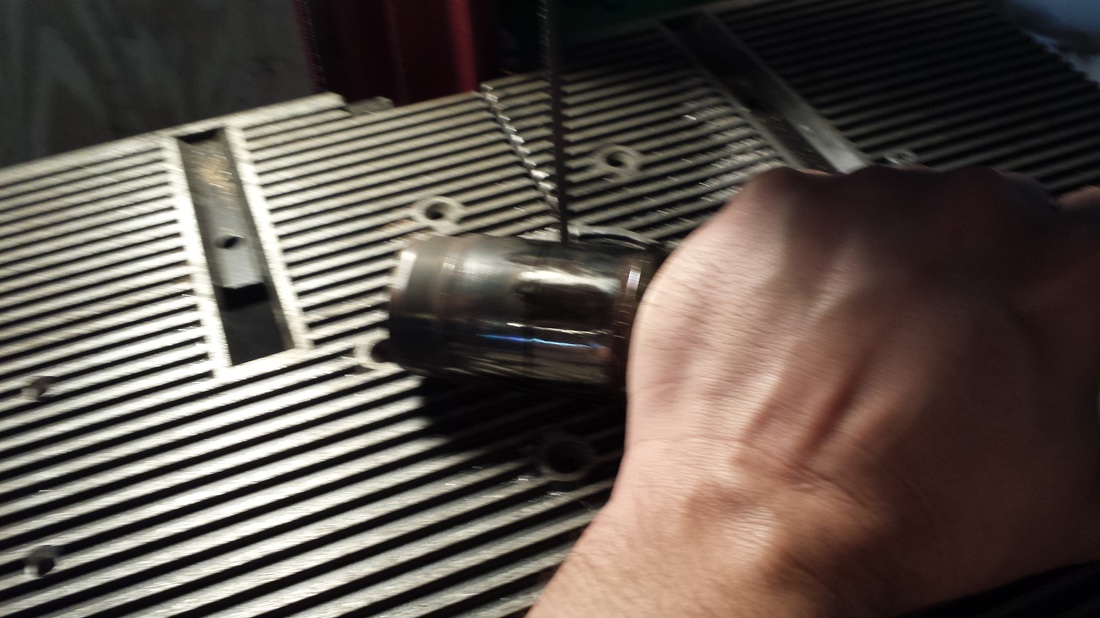
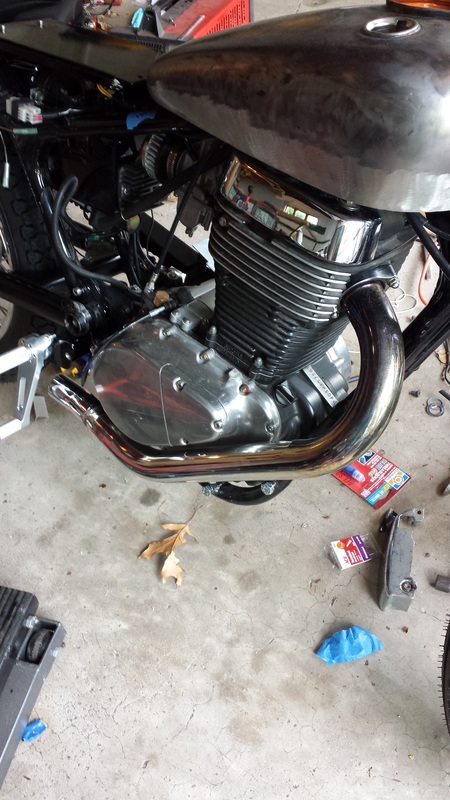
I cut the exhaust. 1" back from the mounting ring then cleaned up the end. The adapter doesn't fit very tight but I'll try and figure something out. I got the header reinstalled and will work on the rear brake and exhaust next.
Got the speed sensor installed. It isn't pretty but if it works, I'll make a nicer bracket later. I basically cut a piece of aluminum , bored a hole to fit the shock bolt, drilled a few holes for the sensor and put it on. I put a retainer piece from the sensor down to a small hole that was already in the arm. Held in with a machine screw. The clearance is tight but good. I need to epoxy the magnet on as it came off of the mounting bolt. >:(
I cut the exhaust. 1" back from the mounting ring then cleaned up the end. The adapter doesn't fit very tight but I'll try and figure something out. I got the header reinstalled and will work on the rear brake and exhaust next.


May 17, 2015
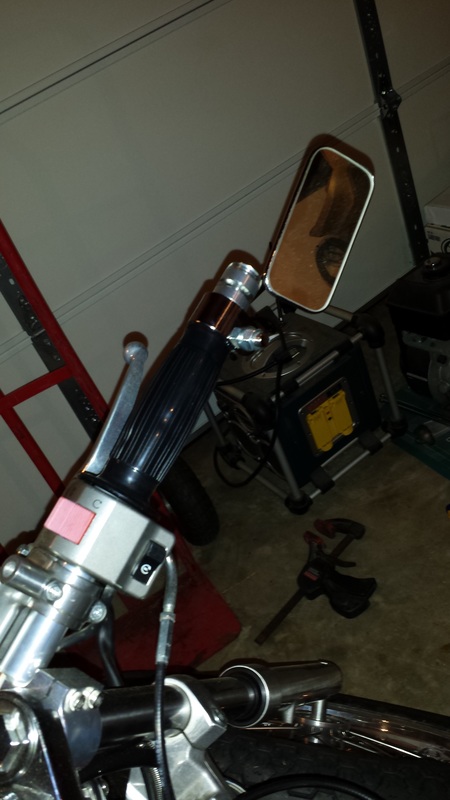
Okay, got the right side bar mirror on but it is going to take a bit of adjustment to give it the best rearward view. The liner in the clamp had to have the holes lengthened to conform to the bar. I got the rear brakes adjusted too. It took a bit of give and take, but I got it set so there is very little slack. The shifter is too tight so I need to adjust that too.
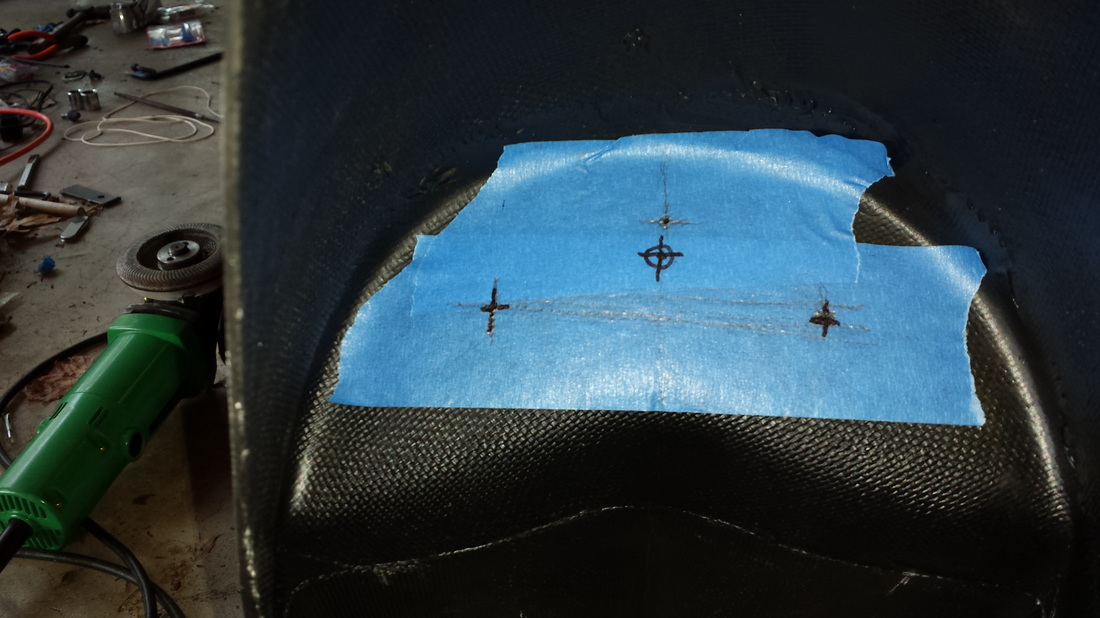
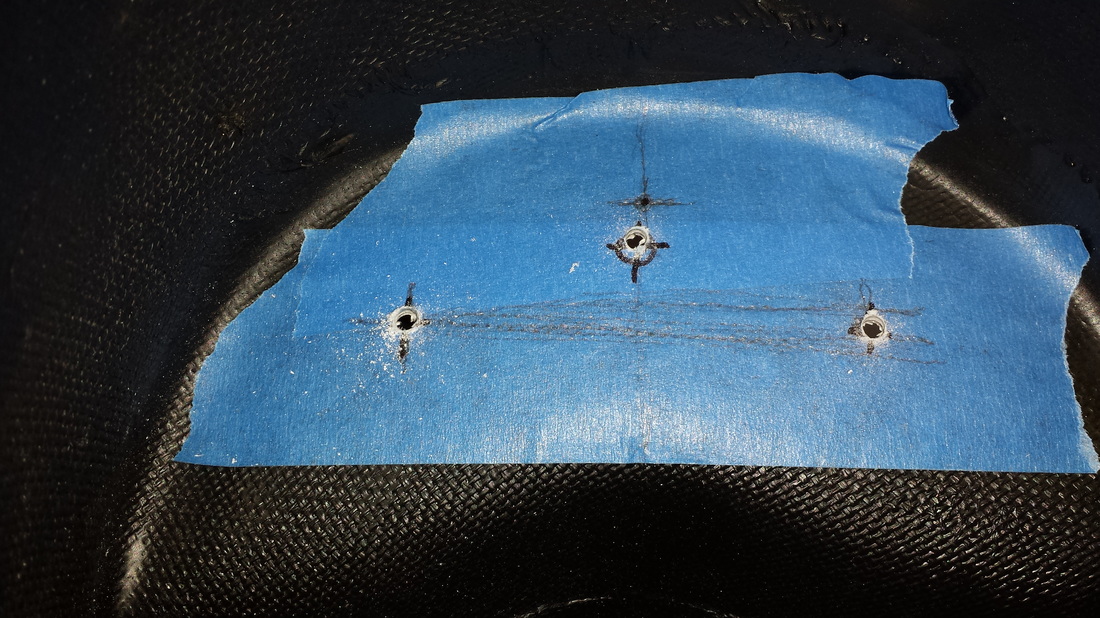
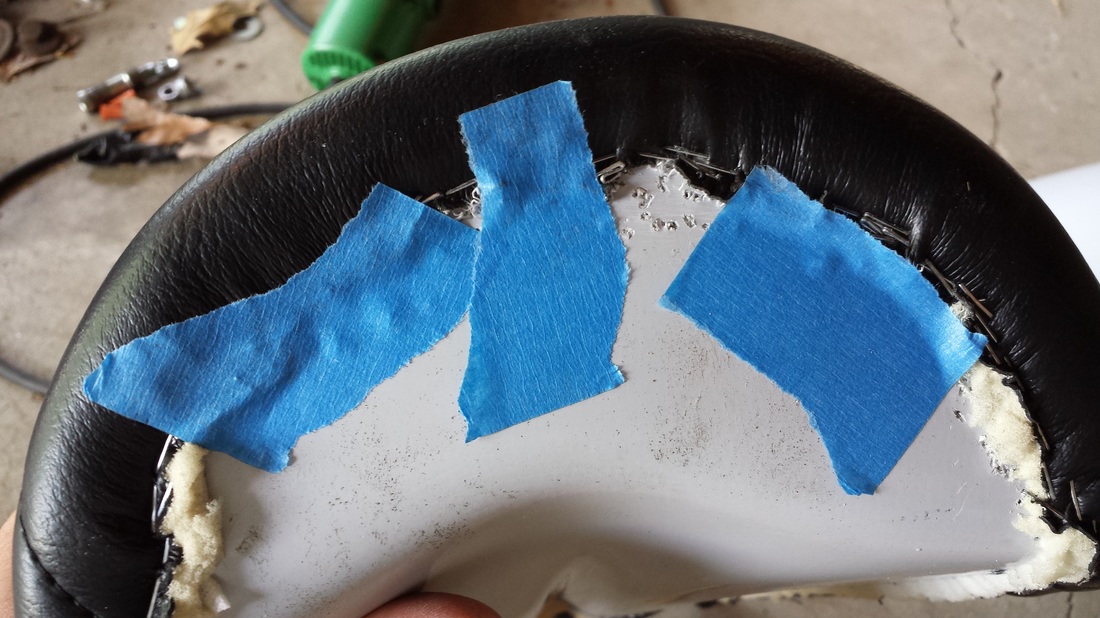
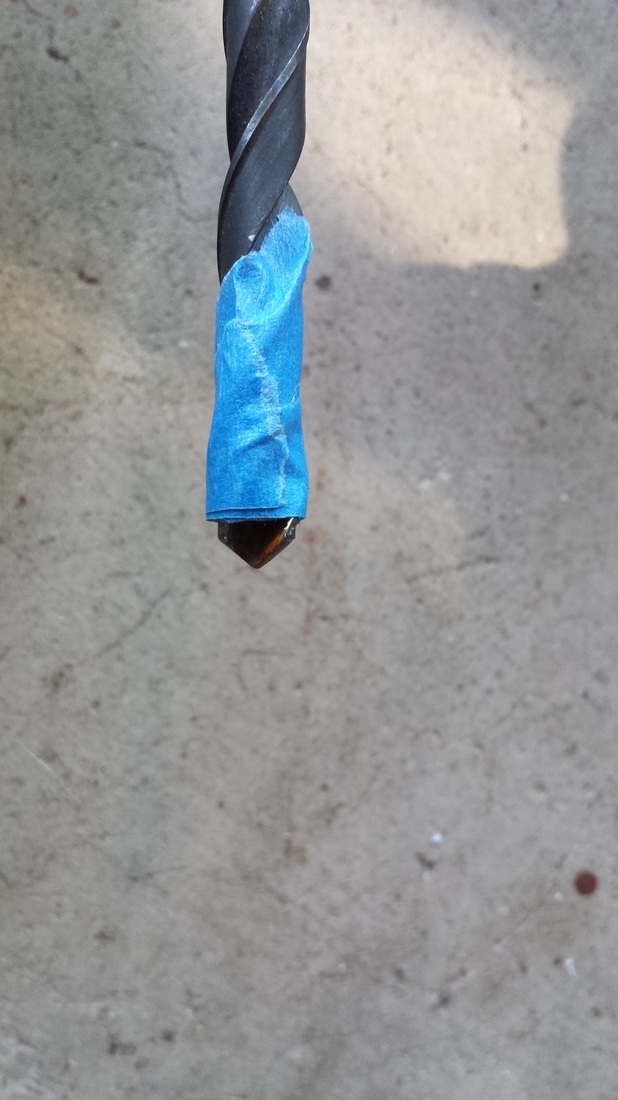
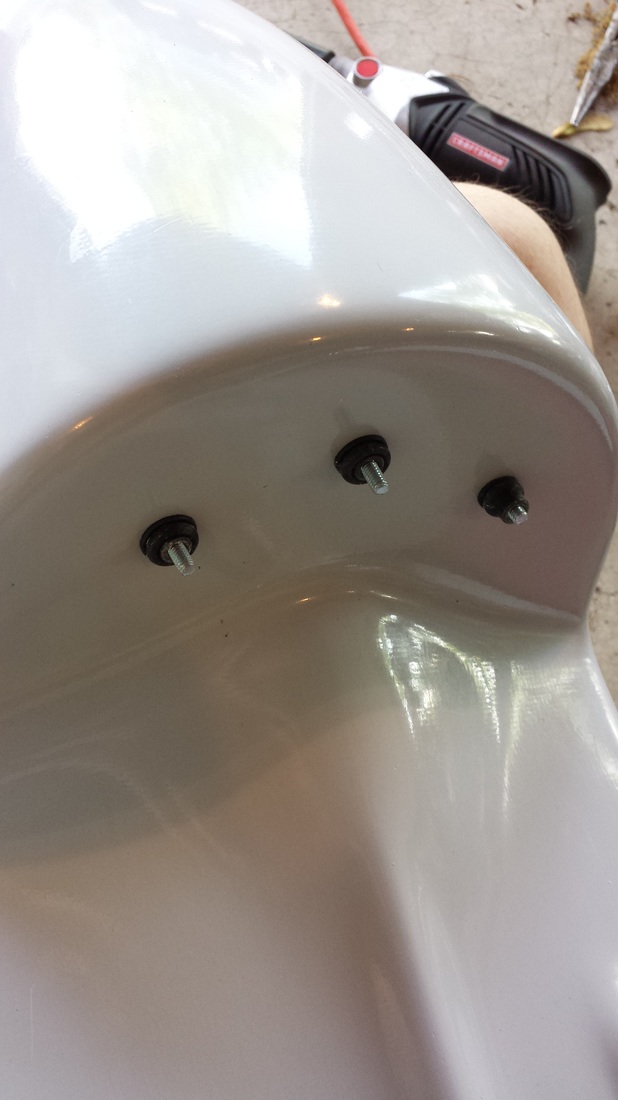
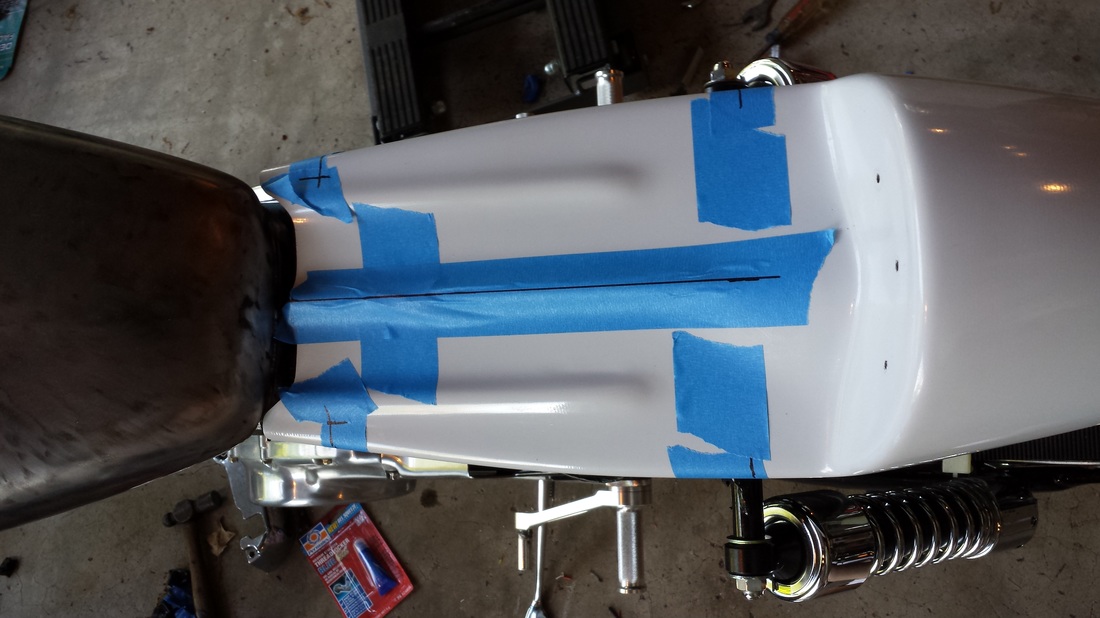
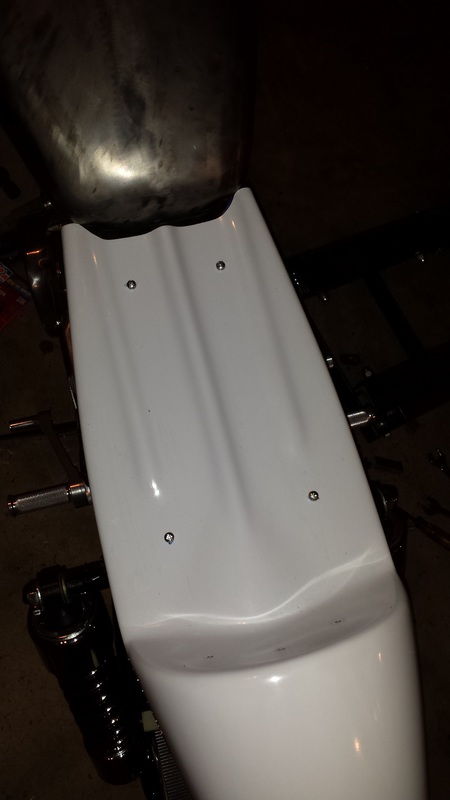
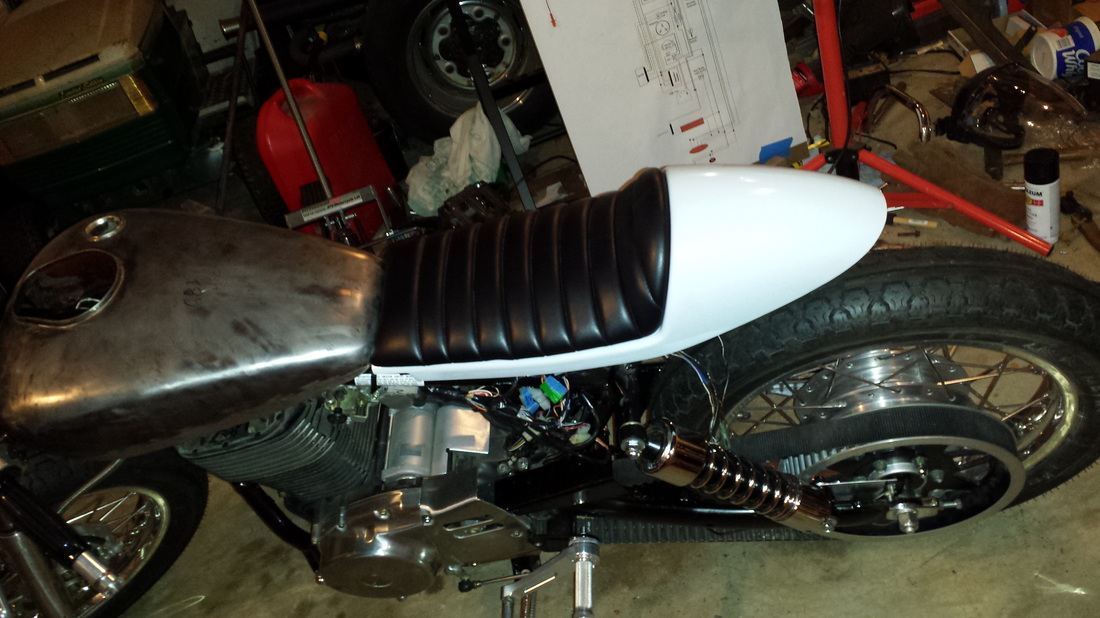
I then tackled the rear fiberglass and the seat. The Ryca manual said to mark and drill 3 holes in the back of the fiberglass, drill them then put the seat in place, mark that where the holes were, drill those out with only the tips of the drillbits as to not puncture the upholstery. From there, you were to slide the rubber pieces in the seat, pass the screws through and snug them down as the rubber expands in the seat. Guess what, that didn't work. First, the screws were too short, so I tried longer ones to get the threads started. Once I got all three in, the seat fell off! The rubber didn't seat itself in the fiberglass! Move on to plan 2. I lined up the fiberglass tailpiece on the frame, marked where the pan met the tailpiece the best and drilled 4 holes. I used the 4 longer screws with locknuts underneath to hold it down then applied several strips of velcro on the tailpiece, peeled off the backing and pressed the seat down in place. It's not a permanent solution but it will work for now.
Okay, got the right side bar mirror on but it is going to take a bit of adjustment to give it the best rearward view. The liner in the clamp had to have the holes lengthened to conform to the bar. I got the rear brakes adjusted too. It took a bit of give and take, but I got it set so there is very little slack. The shifter is too tight so I need to adjust that too.
I then tackled the rear fiberglass and the seat. The Ryca manual said to mark and drill 3 holes in the back of the fiberglass, drill them then put the seat in place, mark that where the holes were, drill those out with only the tips of the drillbits as to not puncture the upholstery. From there, you were to slide the rubber pieces in the seat, pass the screws through and snug them down as the rubber expands in the seat. Guess what, that didn't work. First, the screws were too short, so I tried longer ones to get the threads started. Once I got all three in, the seat fell off! The rubber didn't seat itself in the fiberglass! Move on to plan 2. I lined up the fiberglass tailpiece on the frame, marked where the pan met the tailpiece the best and drilled 4 holes. I used the 4 longer screws with locknuts underneath to hold it down then applied several strips of velcro on the tailpiece, peeled off the backing and pressed the seat down in place. It's not a permanent solution but it will work for now.