March 21, 2015
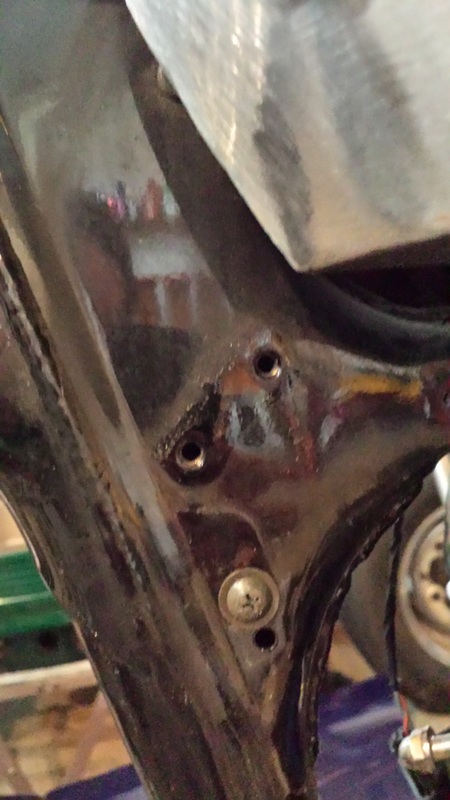
Got to the cutting today. I remeasured everything and got out the tools. Still marking parts, pulling things off and then making some cuts! Took off the key switch mount first to see how hard the steel was. Gotta say, it's some hard steel! I used a reciprocating fender saw (small blade), a sawz-all, a dremel with 1.5" cutting disks and an angle grinder with a 4.5" disk. I also had a flapper wheel to smooth things out.
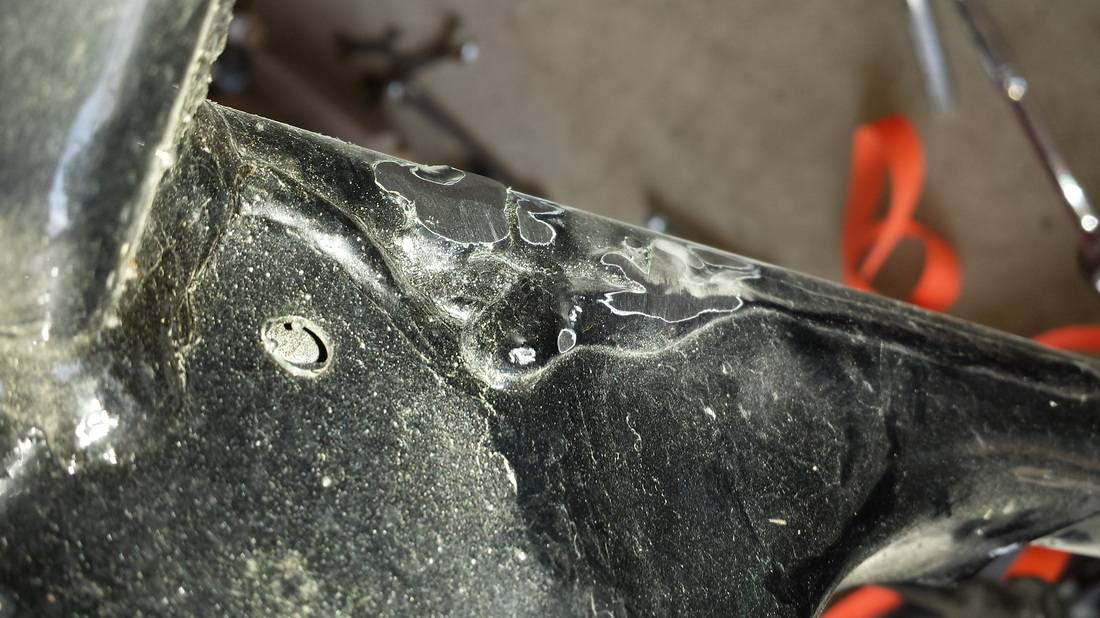
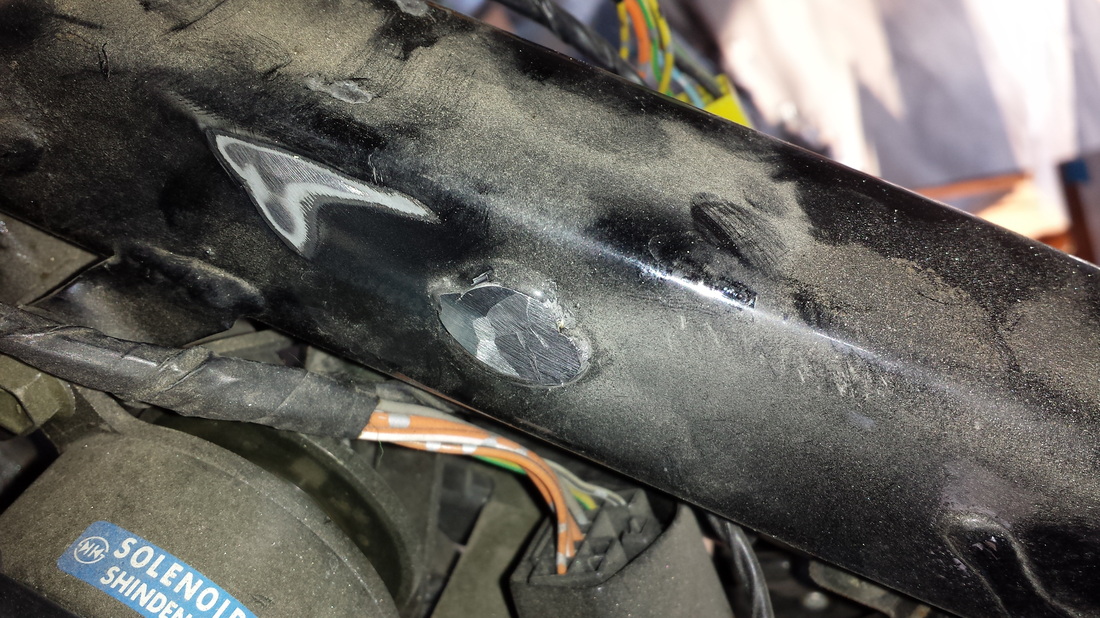
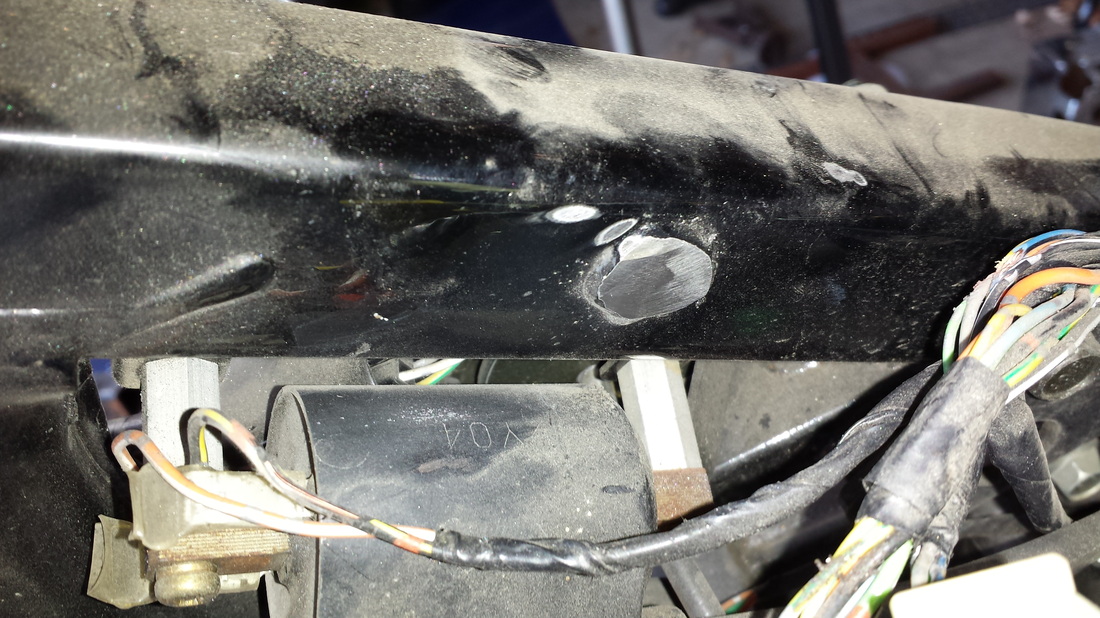
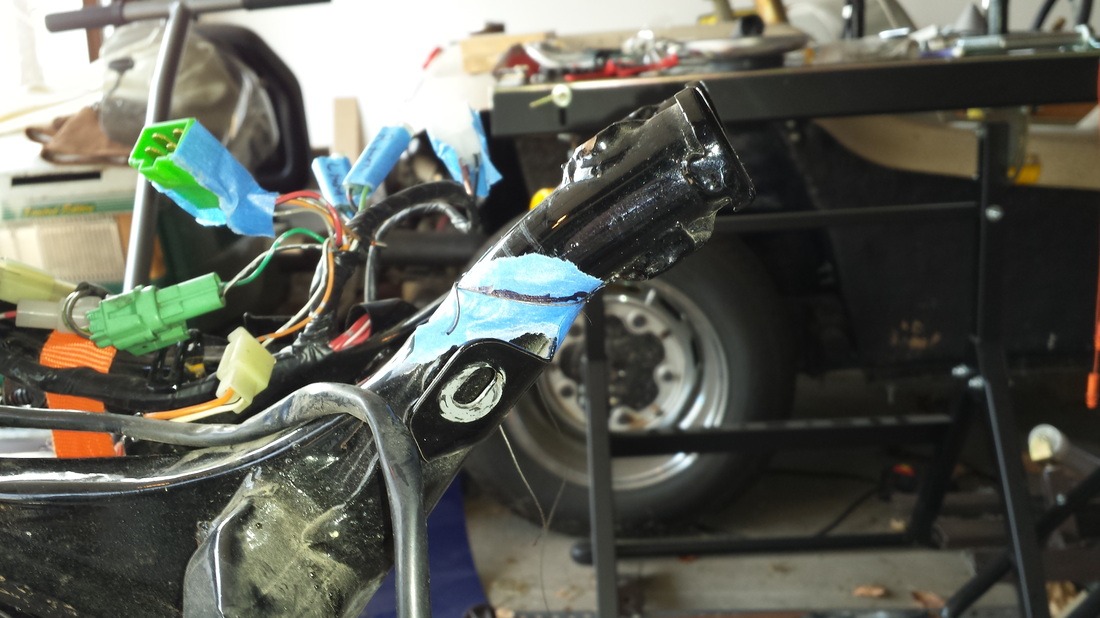
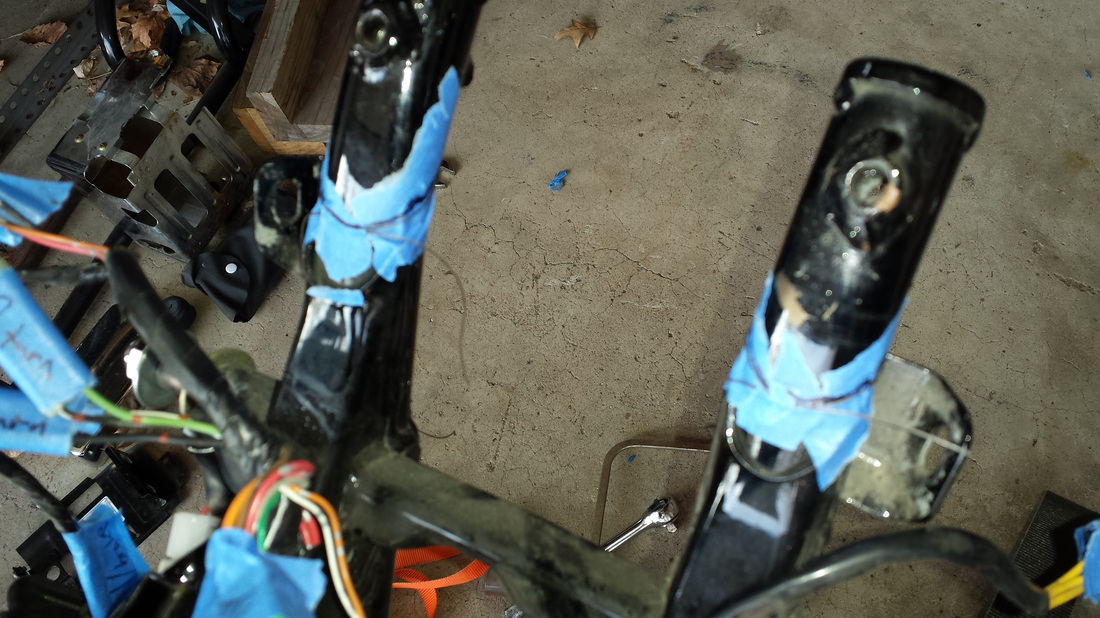
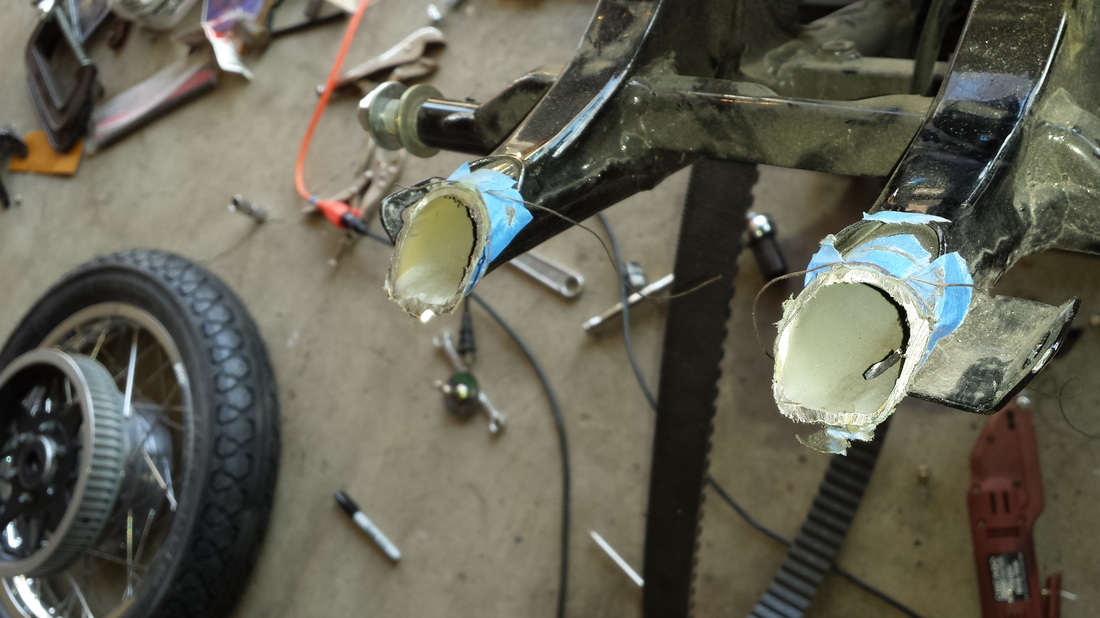
The key mount came off rather easily but the steel was hard, possibly because I was cutting through some welds. Got it off and used the flapper on it. I then cut off the front tank mounts. I still had the wiring up there so it took a little more work but not too bad at all. I smoothed those out right away too. I moved on to the engine mount tubes. Okay, what are these things made of? I went through a fender saw blade, wore down the sawzall blade to nothing and the dremel made an awful racket, let me cut a few more intermittent times, then gave up completely. (A moment of silence for the dremel...)
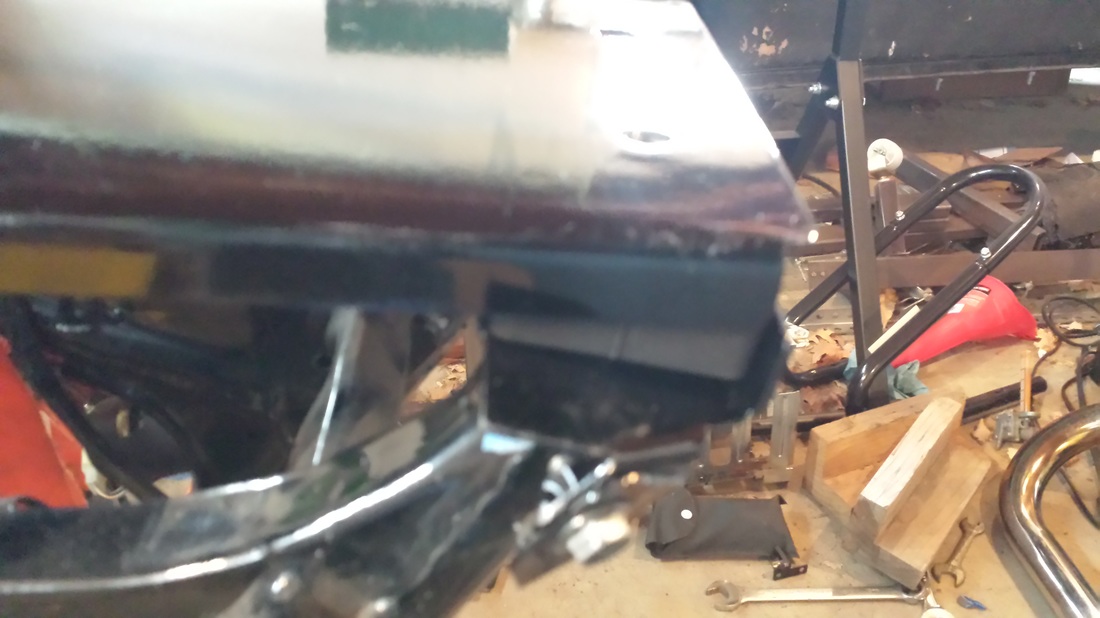
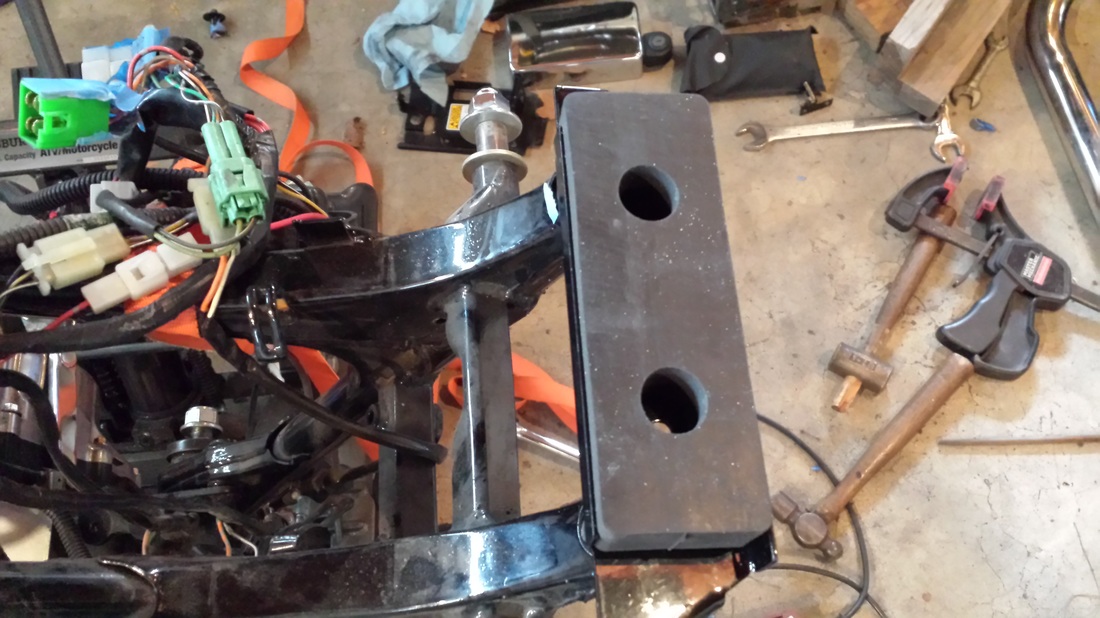
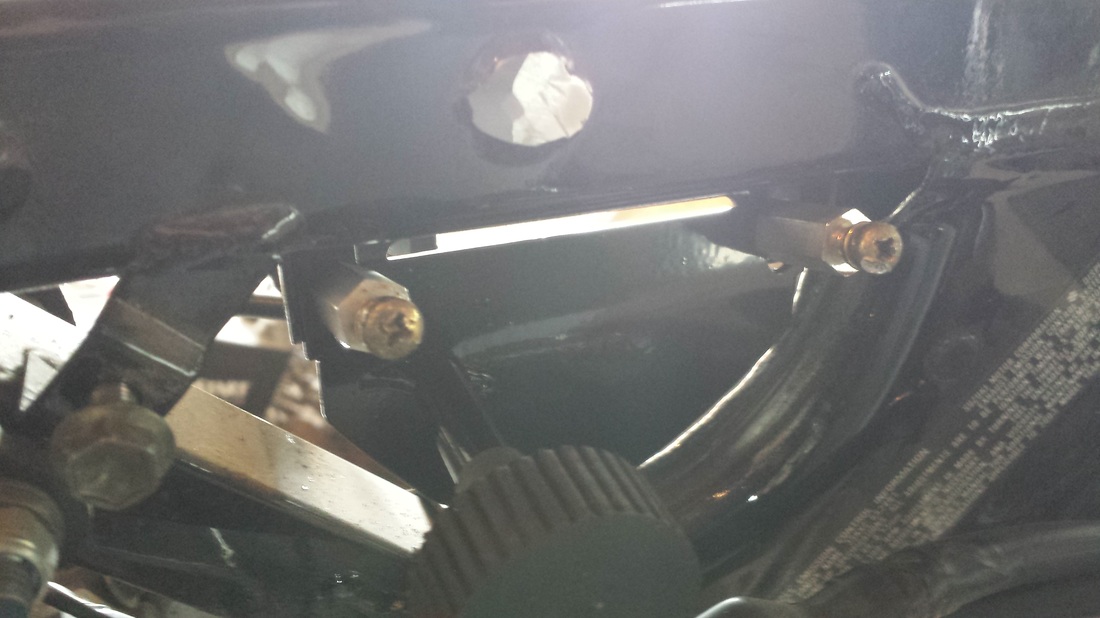
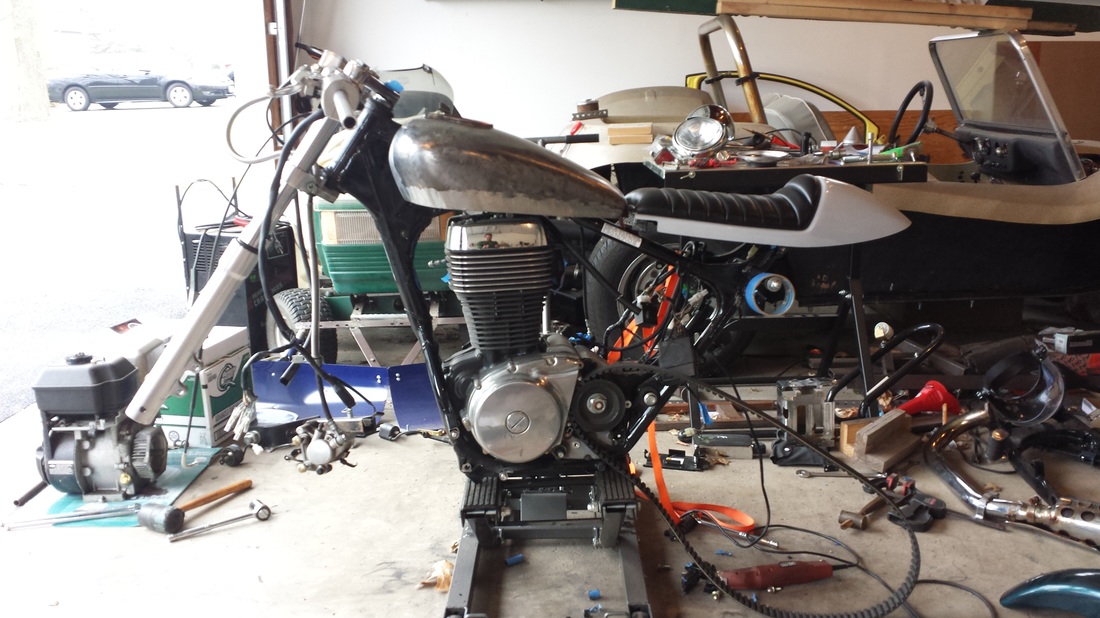
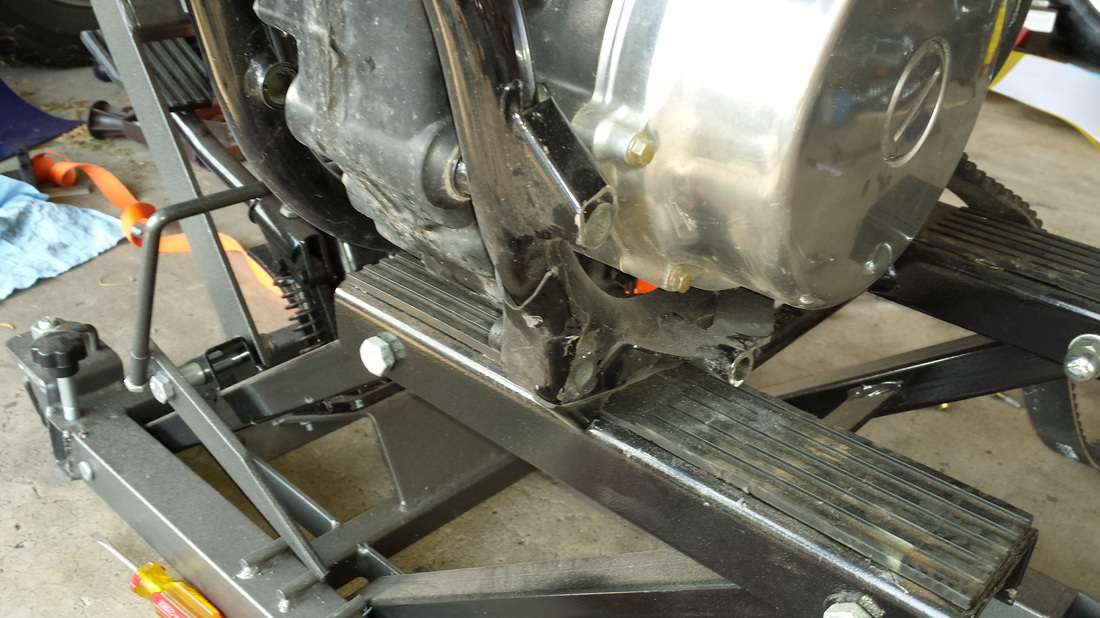
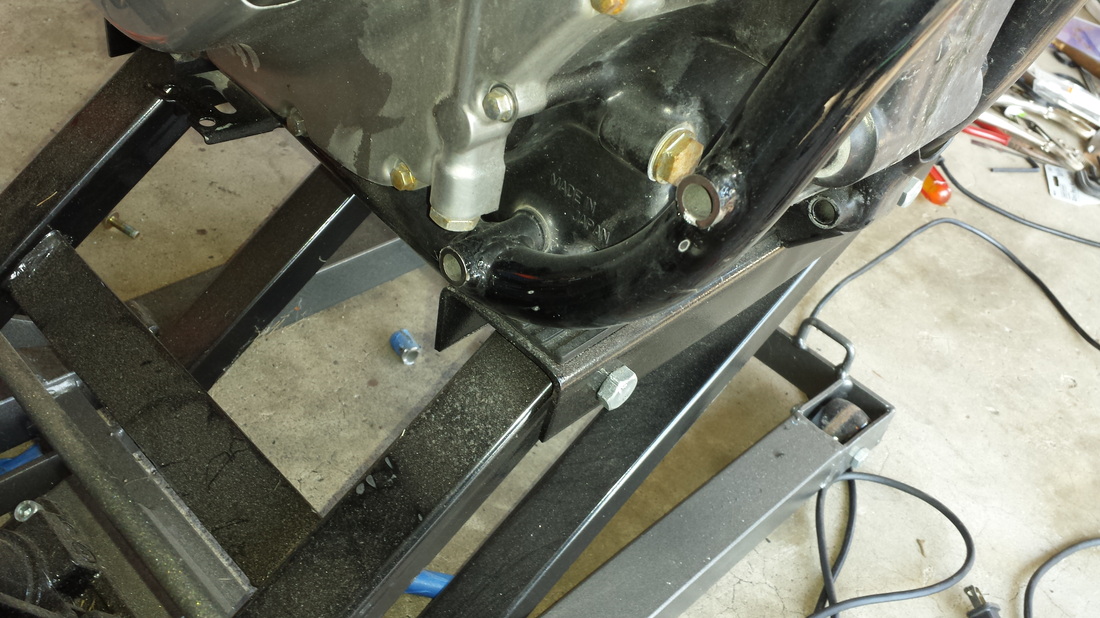
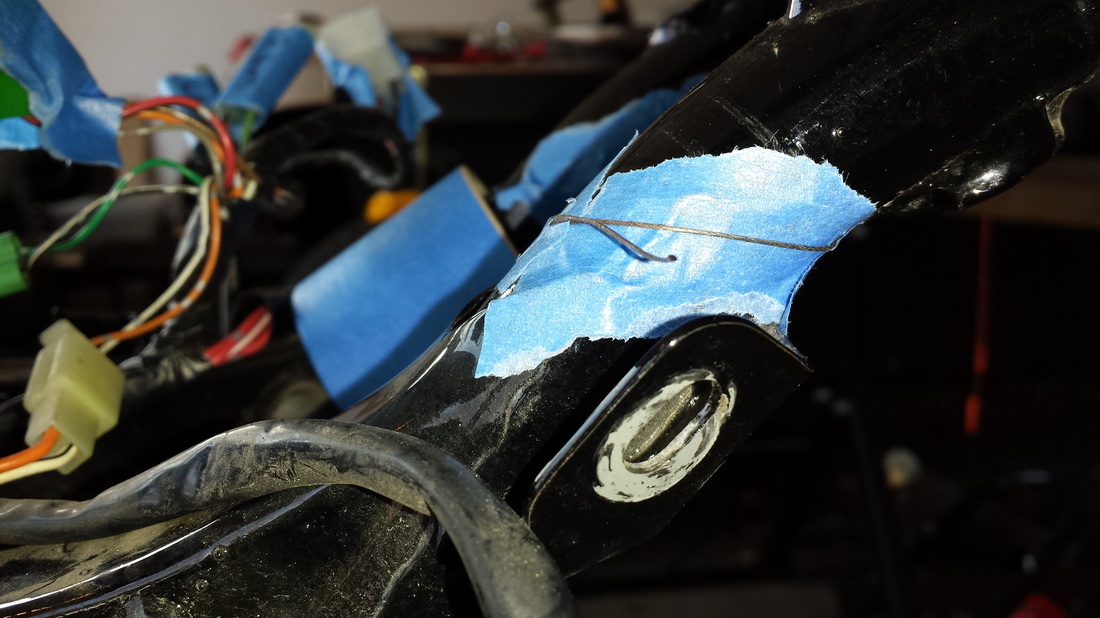
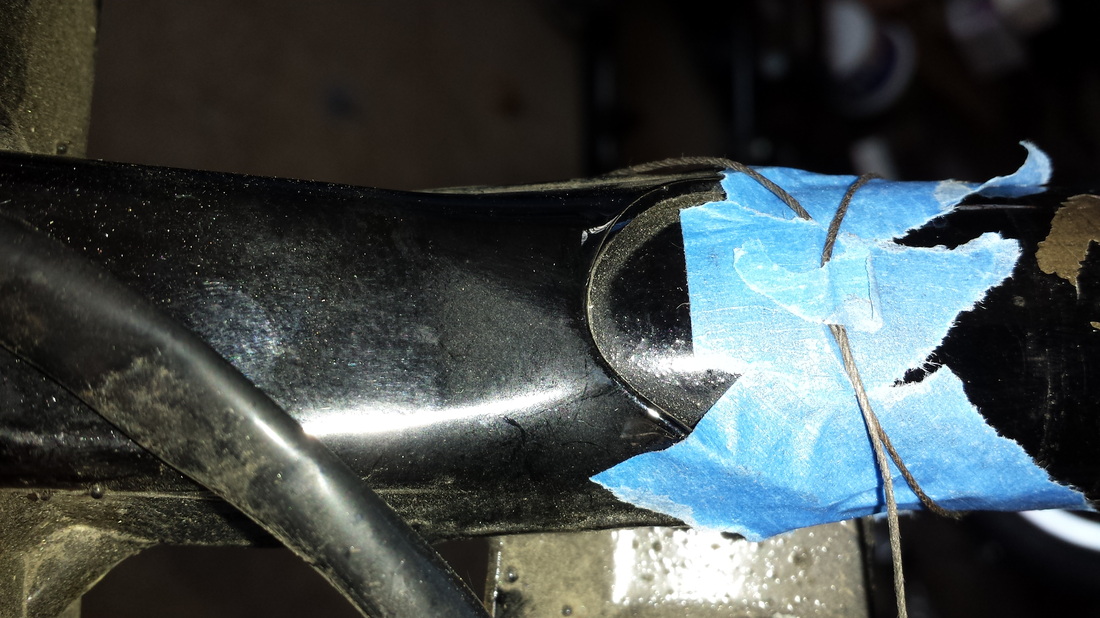
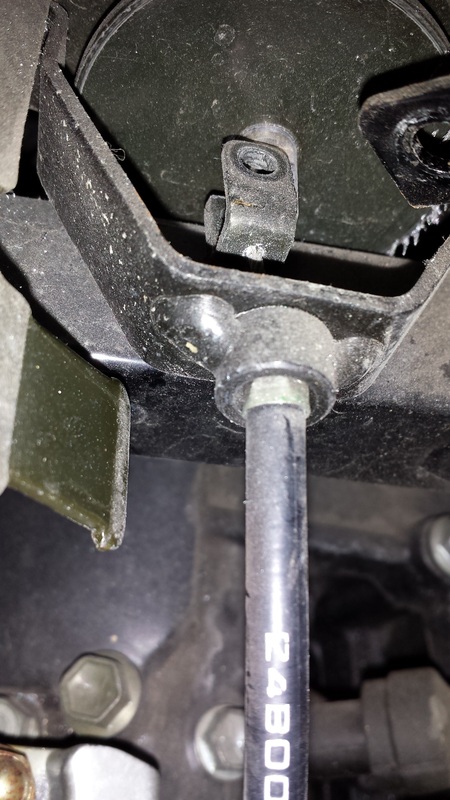
I finally did get them cut off, including a flush cut of the center left tube as I'm not using the foot decompression switch. I used a hand file to smooth and square them and test fit the bolts. From there it was on to the rear frame cuts. Now I wasn't worried about these too much as I had done my homework and measured these several times. The thing that was getting me was the straight line. What I decided to do was scribe where the dial calipers told me to, moved up a hair, cut into it with a coping saw then taped it. I ran a piece of thread around the tube then marked above it where to cut. I broke out the angle grinder this time and went through it much easier. From there I had to make a few adjustments to the rear mount bracket and the holes. You use the previous mounts from where you undid the seat for the first time. Just reuse the bolts for it. (10mm) After that I disconnected the wiring up front and decided to test fit the seat and tank. Ohhhh, this is getting good!!!!!!
Got to the cutting today. I remeasured everything and got out the tools. Still marking parts, pulling things off and then making some cuts! Took off the key switch mount first to see how hard the steel was. Gotta say, it's some hard steel! I used a reciprocating fender saw (small blade), a sawz-all, a dremel with 1.5" cutting disks and an angle grinder with a 4.5" disk. I also had a flapper wheel to smooth things out.
The key mount came off rather easily but the steel was hard, possibly because I was cutting through some welds. Got it off and used the flapper on it. I then cut off the front tank mounts. I still had the wiring up there so it took a little more work but not too bad at all. I smoothed those out right away too. I moved on to the engine mount tubes. Okay, what are these things made of? I went through a fender saw blade, wore down the sawzall blade to nothing and the dremel made an awful racket, let me cut a few more intermittent times, then gave up completely. (A moment of silence for the dremel...)
I finally did get them cut off, including a flush cut of the center left tube as I'm not using the foot decompression switch. I used a hand file to smooth and square them and test fit the bolts. From there it was on to the rear frame cuts. Now I wasn't worried about these too much as I had done my homework and measured these several times. The thing that was getting me was the straight line. What I decided to do was scribe where the dial calipers told me to, moved up a hair, cut into it with a coping saw then taped it. I ran a piece of thread around the tube then marked above it where to cut. I broke out the angle grinder this time and went through it much easier. From there I had to make a few adjustments to the rear mount bracket and the holes. You use the previous mounts from where you undid the seat for the first time. Just reuse the bolts for it. (10mm) After that I disconnected the wiring up front and decided to test fit the seat and tank. Ohhhh, this is getting good!!!!!!


April 7, 2015
After a great vacation to Arizona I got back to the bike. I hadn't thought much about it on the trip but as soon as I walked in the garage the spark came back!
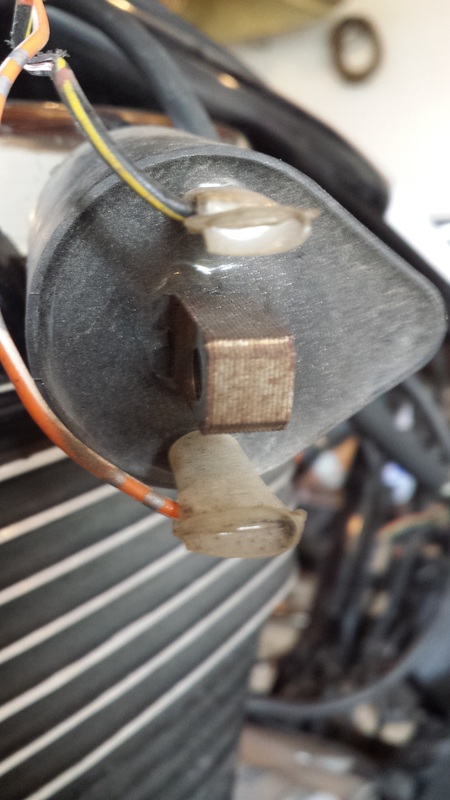
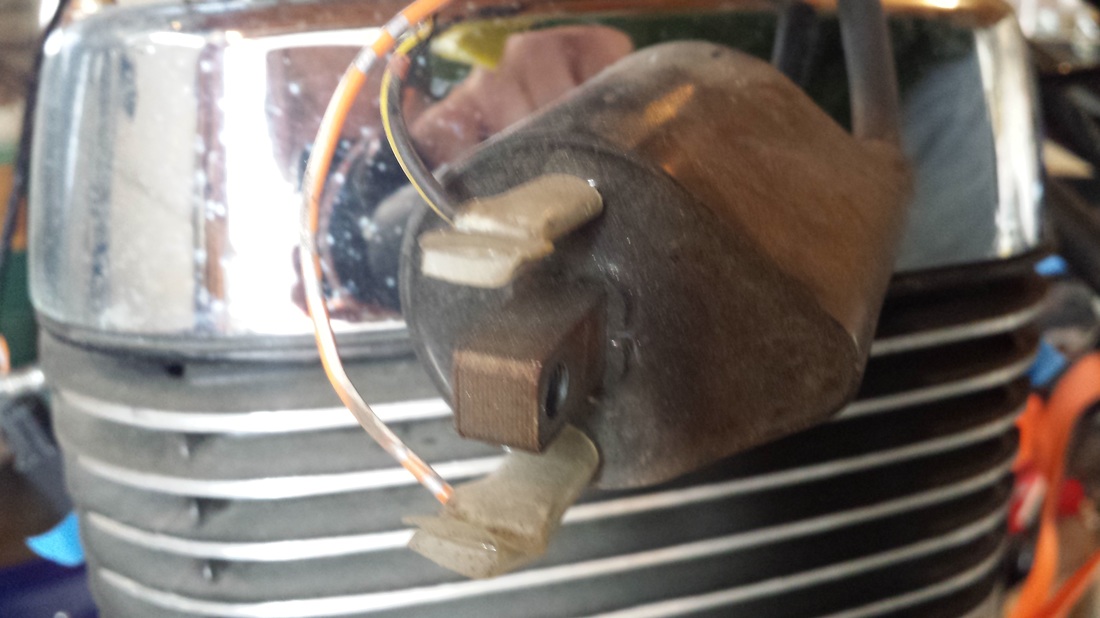
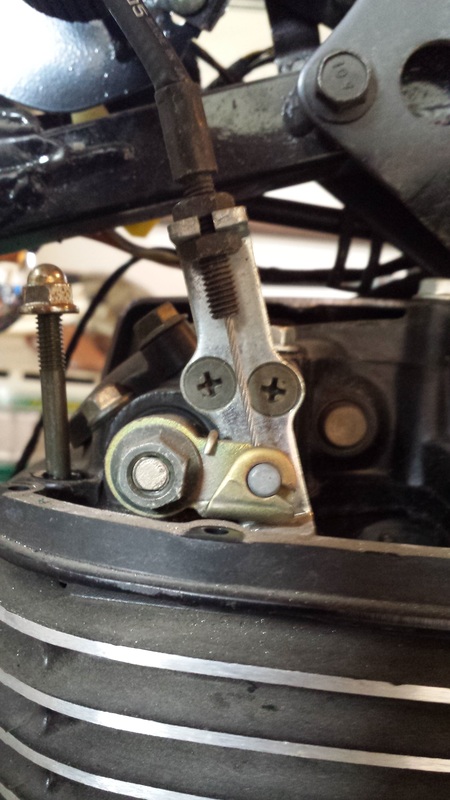
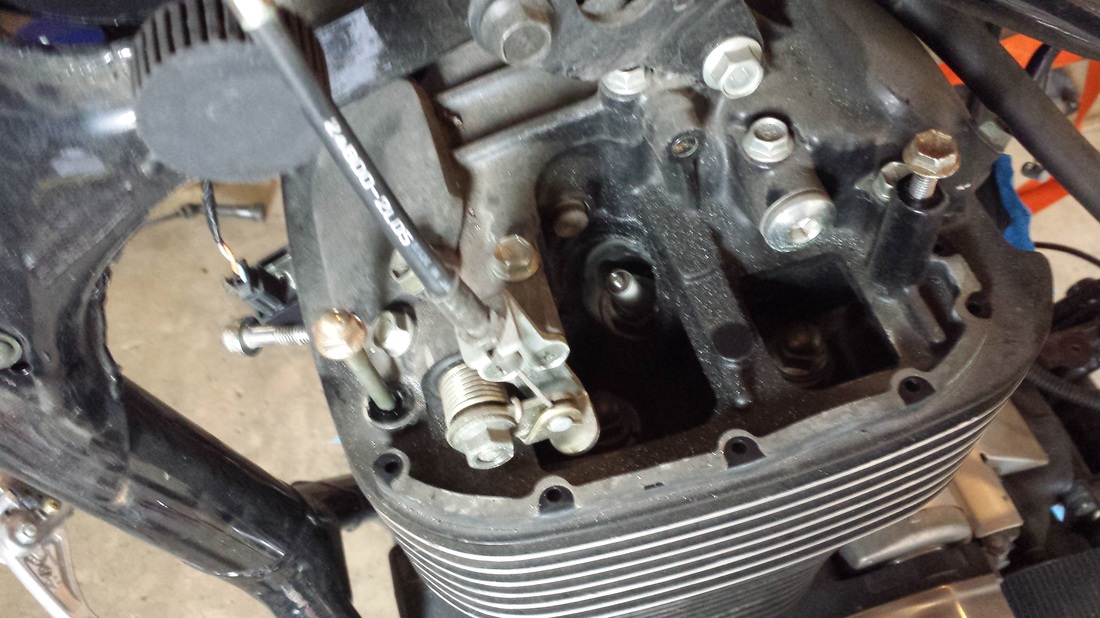
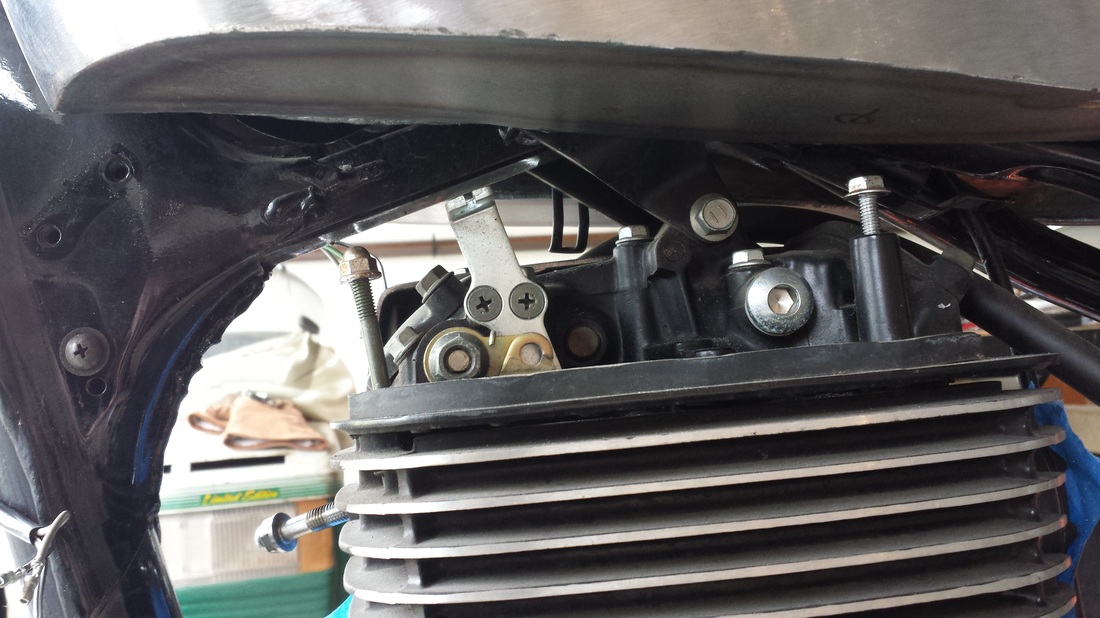
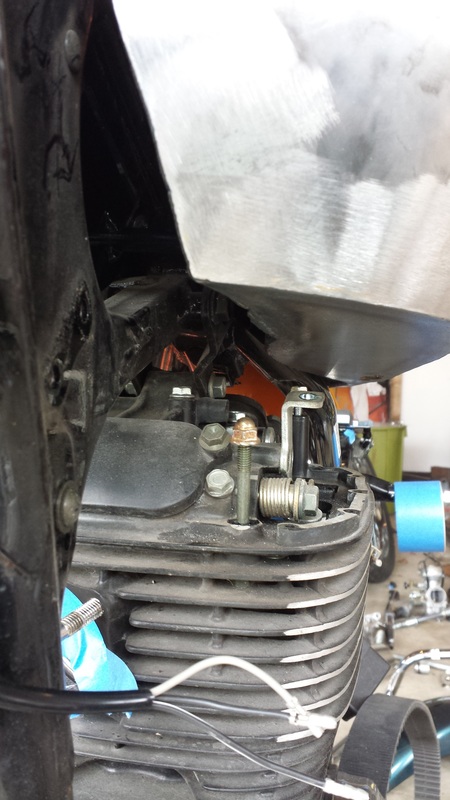
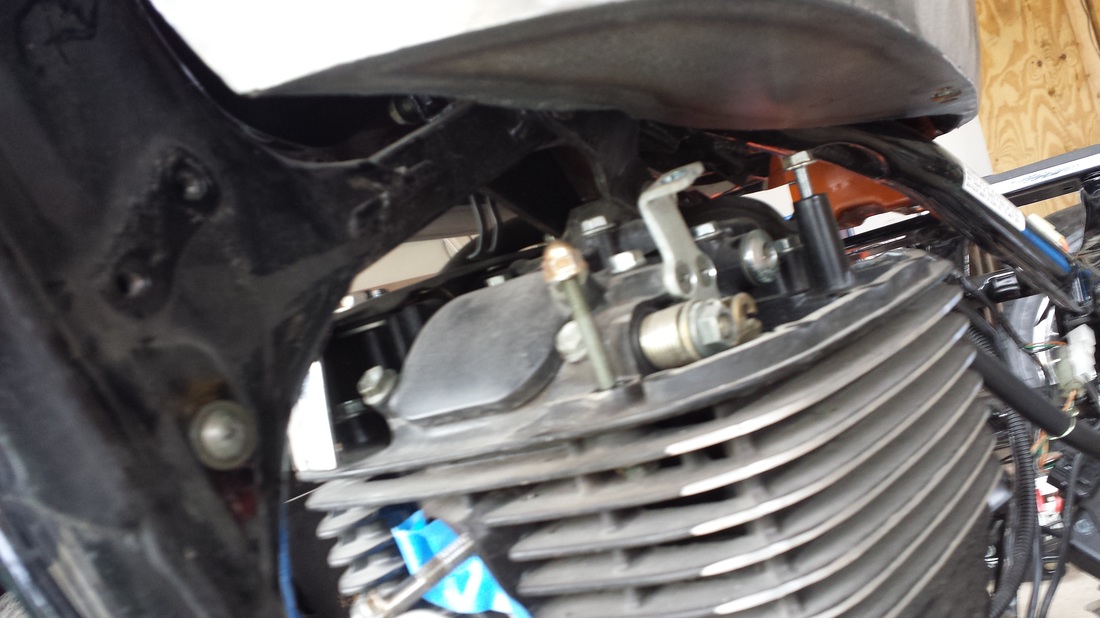
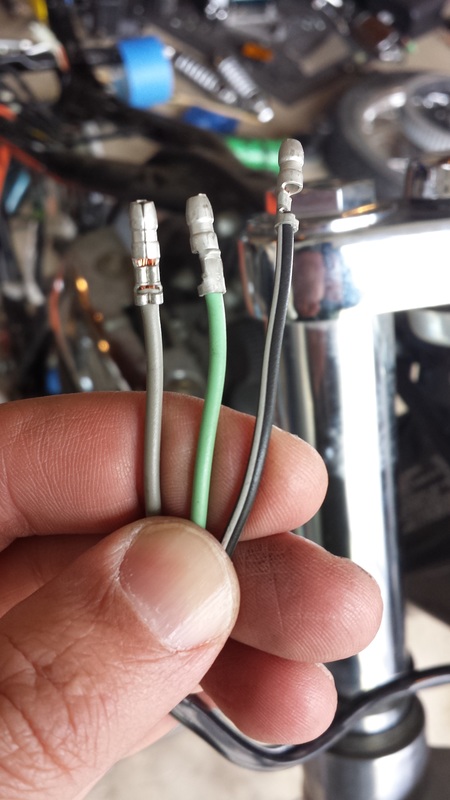
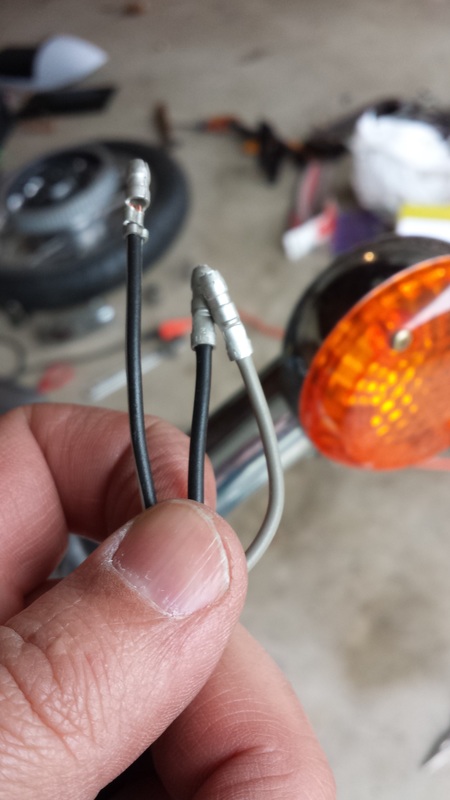
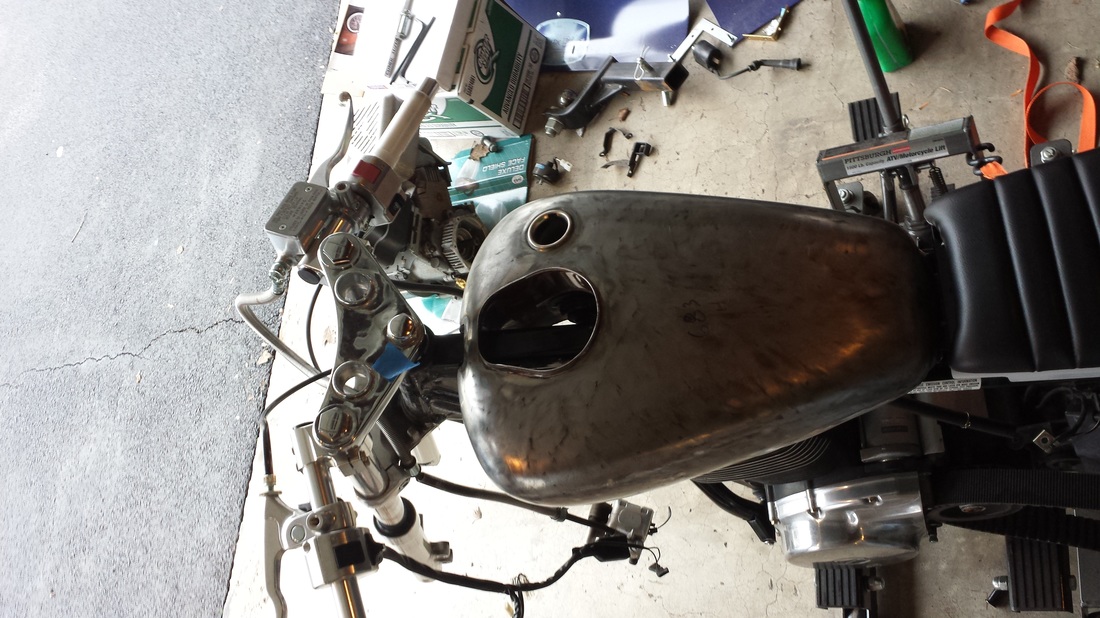
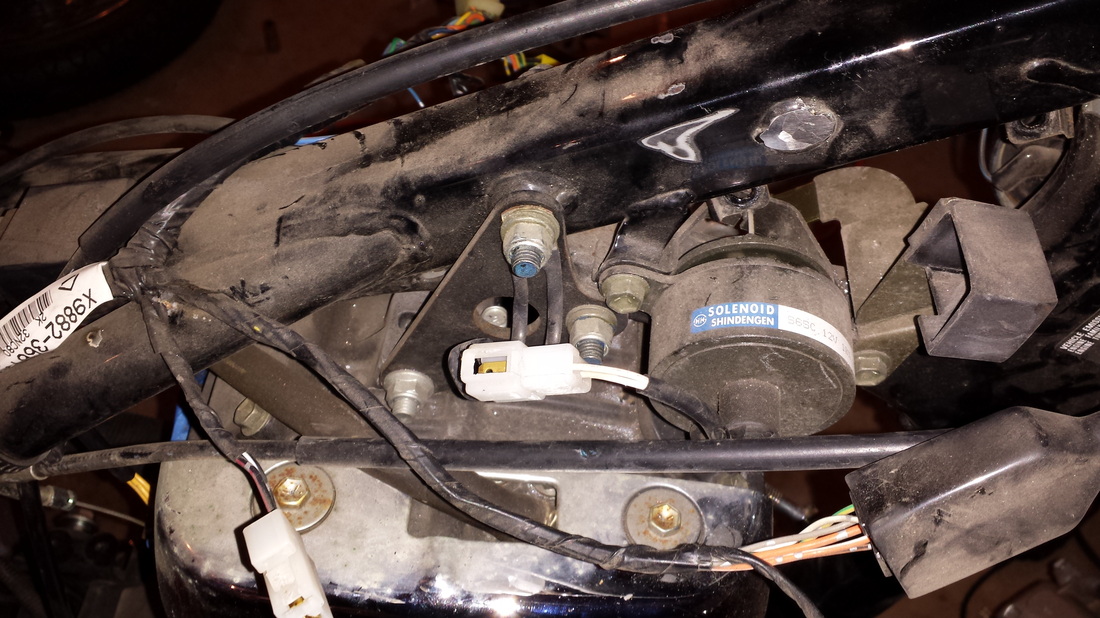
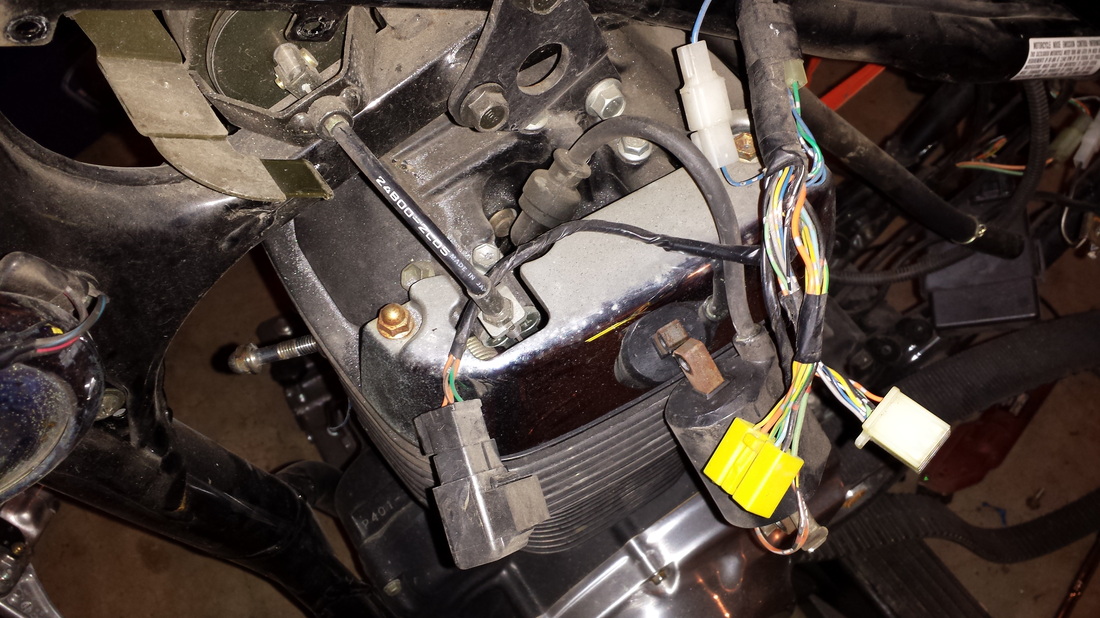
I was going to mount the tank and seat but figured I needed to get the front end modded since all the cables, wiring and controls were everywhere. I finally get the last screw out holding the horn bracket. I did find out that the hole distance for the bracket is the same as the bracket for the headlight. With a little bending, the horn will fit nicely under the lower triple tree. I then marked and pulled the rest of the front wiring. I got the front tank mount installed next. It took a little trial and error but got it mounted and the tank put in it's proper front location. I took a look at the the decomp cable clearance and then pulled it off after pulling the left side chrome cover (10mm). I still need to figure out how to make the system work under the tank as the clearance is pretty tight. I pulled the headlight and disconnect the turn signals, making sure I knew what wire went where.
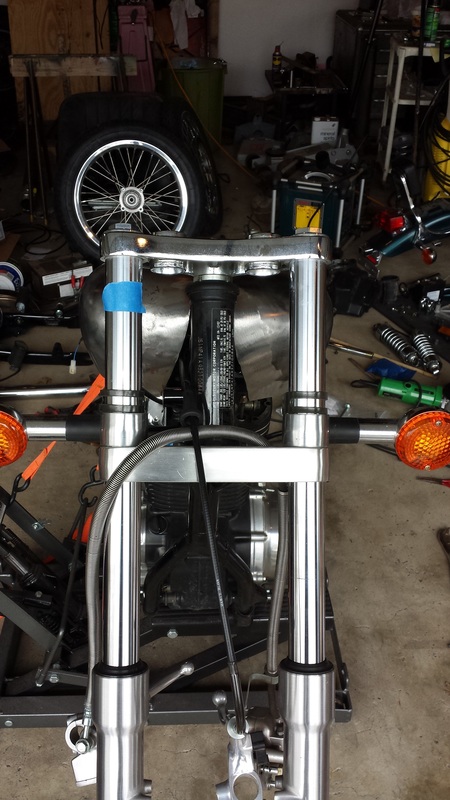
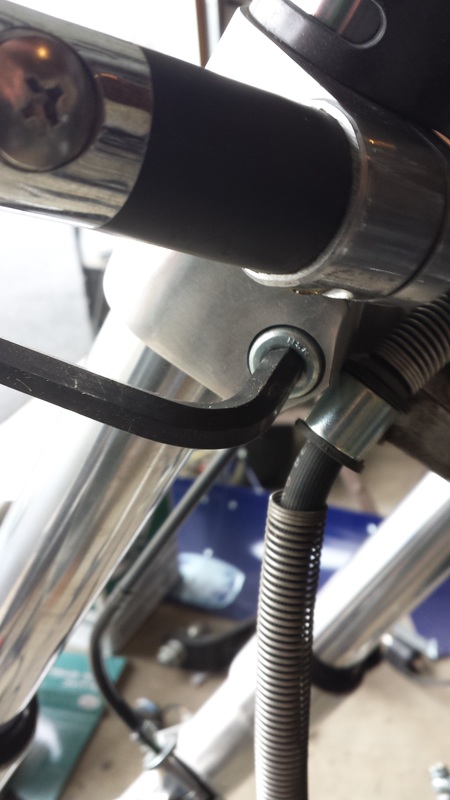
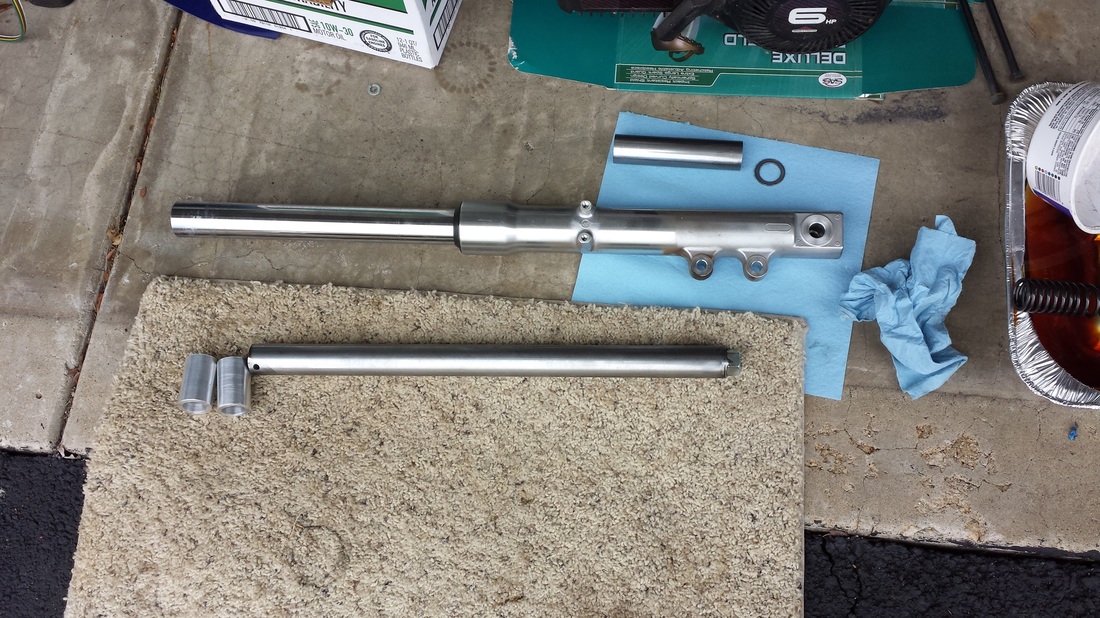
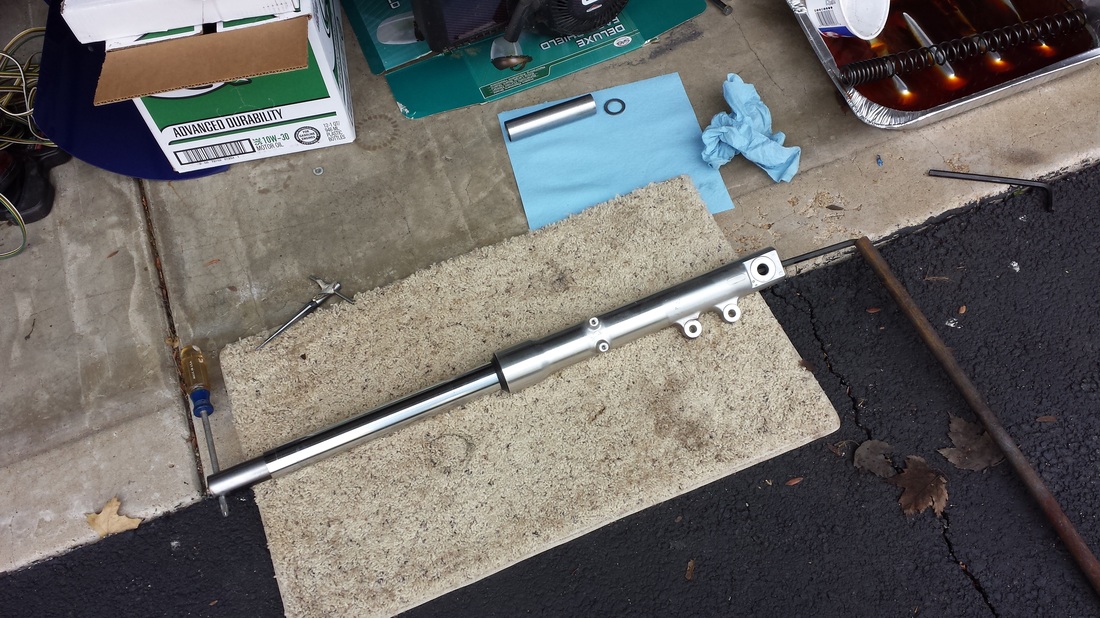
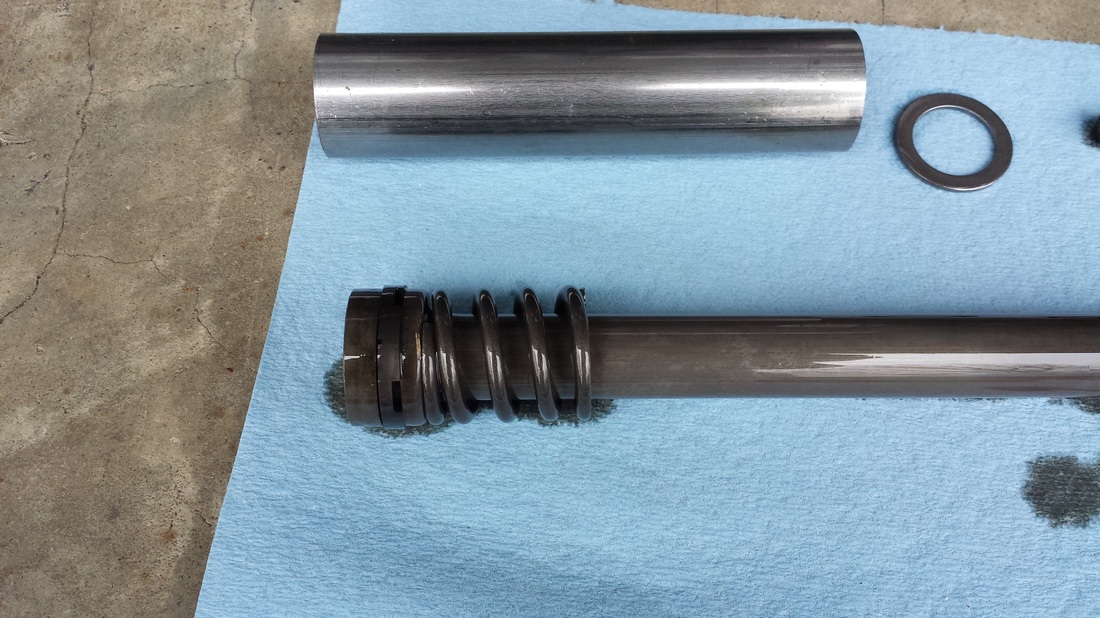
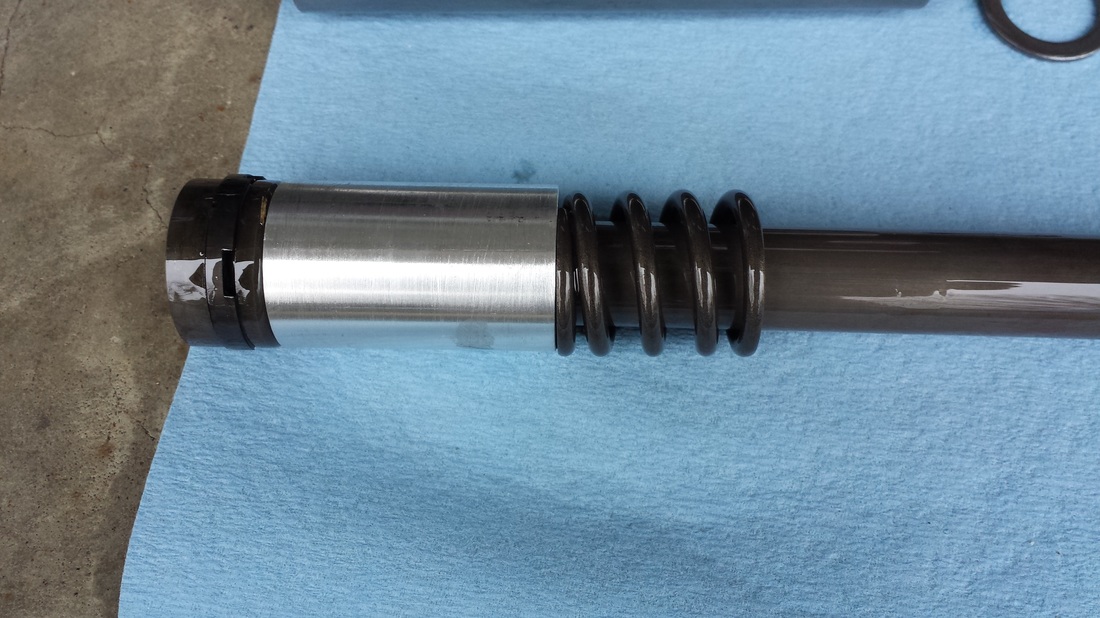
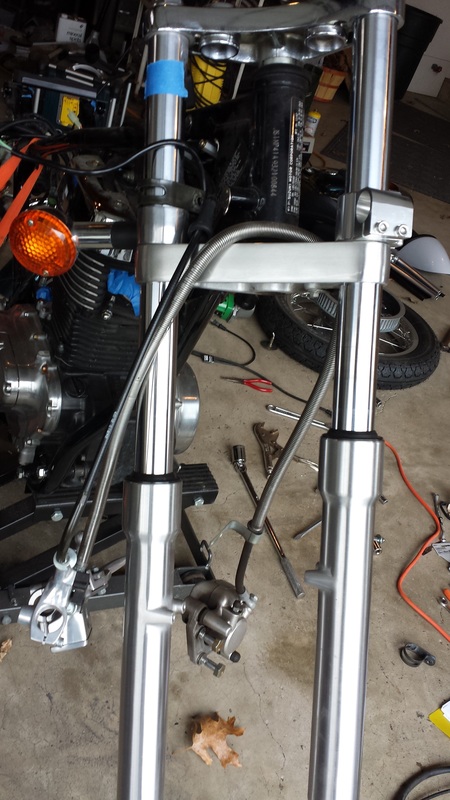
It was time to pull the forks. I was hesitant to do them but I knew that I had the tools and could ask any of the guys online for help. I fist loosened the turn signals. It takes a 7mm wrench. (I think) My wrench was missing so I used my adjustable instead. From there I unscrewed the top caps. (27mm). They popped off lightly. I then undid the allen (8mm) in the lower tree. The fork slid right out. I poured the fluid out and removed the thin spacer, washer and spring. I inserted the removal tool Ryca sent, put the 8mm allen in the other end, put a cheater on it and pulled the allen out of the bottom. From there you take out the tool, slide the stuff out of the tube, pull off the spring, put on the spacer and then reverse the whole process, making sure the clamp-on handlebar mounts are installed the right way! Putting on the top caps can be a bit nerver wracking, but if you line up the threads just before you push them down, it can definitely help. I did have one *&^%&^$@!!!!! moment when one of the caps was just going in, it slipped and fell to the ground, hitting the bike stand and bashing in the threads. I swore a good bit but was able to fix them and get it in. Ryca has a video on the entire process. Below you can see a difference between the two fork lengths.
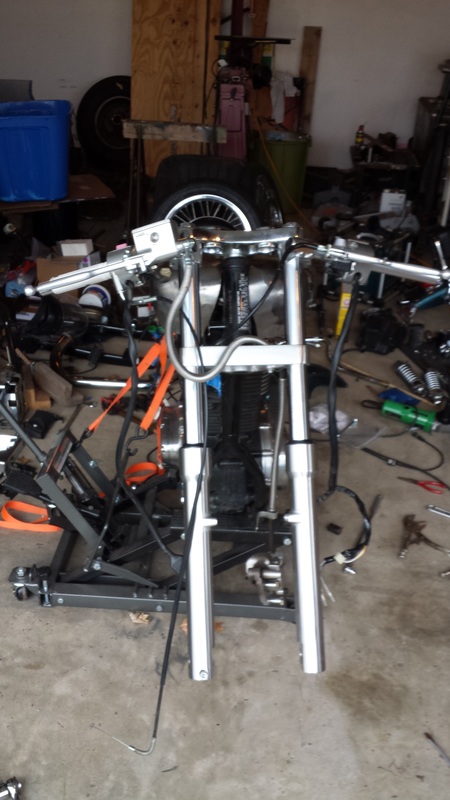
I then mocked up the handlebars to see how things will look. Loving it!!!!!!
After a great vacation to Arizona I got back to the bike. I hadn't thought much about it on the trip but as soon as I walked in the garage the spark came back!
I was going to mount the tank and seat but figured I needed to get the front end modded since all the cables, wiring and controls were everywhere. I finally get the last screw out holding the horn bracket. I did find out that the hole distance for the bracket is the same as the bracket for the headlight. With a little bending, the horn will fit nicely under the lower triple tree. I then marked and pulled the rest of the front wiring. I got the front tank mount installed next. It took a little trial and error but got it mounted and the tank put in it's proper front location. I took a look at the the decomp cable clearance and then pulled it off after pulling the left side chrome cover (10mm). I still need to figure out how to make the system work under the tank as the clearance is pretty tight. I pulled the headlight and disconnect the turn signals, making sure I knew what wire went where.
It was time to pull the forks. I was hesitant to do them but I knew that I had the tools and could ask any of the guys online for help. I fist loosened the turn signals. It takes a 7mm wrench. (I think) My wrench was missing so I used my adjustable instead. From there I unscrewed the top caps. (27mm). They popped off lightly. I then undid the allen (8mm) in the lower tree. The fork slid right out. I poured the fluid out and removed the thin spacer, washer and spring. I inserted the removal tool Ryca sent, put the 8mm allen in the other end, put a cheater on it and pulled the allen out of the bottom. From there you take out the tool, slide the stuff out of the tube, pull off the spring, put on the spacer and then reverse the whole process, making sure the clamp-on handlebar mounts are installed the right way! Putting on the top caps can be a bit nerver wracking, but if you line up the threads just before you push them down, it can definitely help. I did have one *&^%&^$@!!!!! moment when one of the caps was just going in, it slipped and fell to the ground, hitting the bike stand and bashing in the threads. I swore a good bit but was able to fix them and get it in. Ryca has a video on the entire process. Below you can see a difference between the two fork lengths.
I then mocked up the handlebars to see how things will look. Loving it!!!!!!